
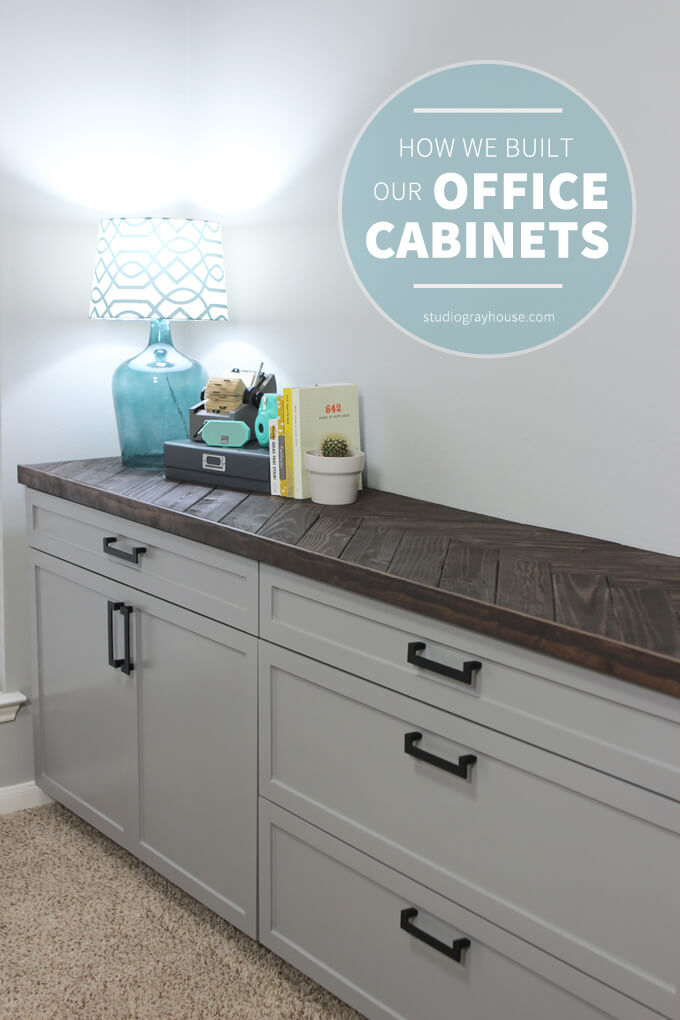
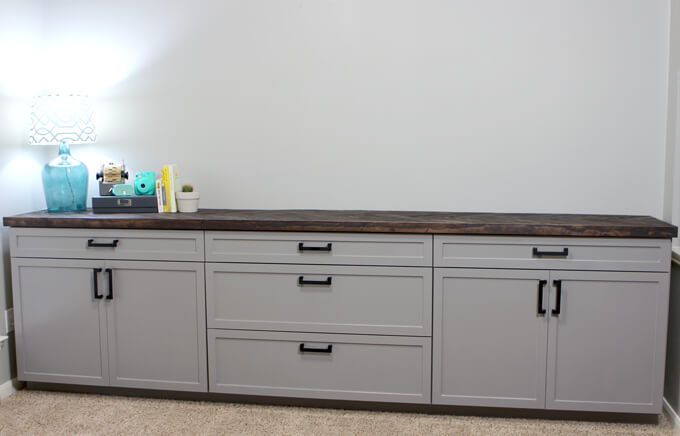
See how we built brand new office cabinets with a herringbone countertop for our home office makeover.
If you haven’t heard, we are expecting a baby in September! We are extremely excited about the new member of Gray House Studio and to begin all the fun nursery projects that are ahead of us. Speaking of the nursery, when we found out we were expecting one of the first things that popped into our head was, where are we going to put the nursery?
After some deliberating, we decided that as of now the best location for the nursery would be our extra room that is currently my office. That means my office is jumping across the hall to the front room next to our library. I am a little sad to leave this room but I am a glass half full kind of girl and am taking advantage of this move by convincing Brent to help me to create the office I always wanted in the new space.
Brent is is going above and beyond to help me transform this space, especially since I have been a little down for the count the past few months (so many naps). I literally fell asleep in a chair in the garage while he was working. Ha.
You can read all about our plans for the home office here.
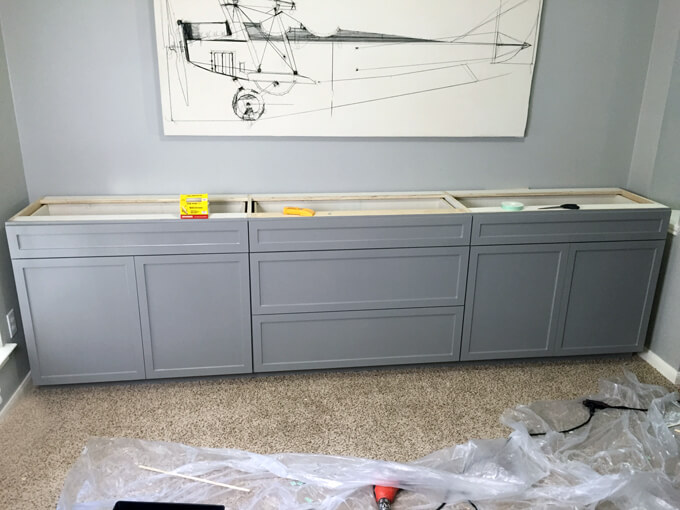
Our first DIY project in our home office was to build office cabinets that spanned one entire wall of the room. Currently, if my office is a mess, I can just shut the door and visitors will never know it is there. But now that I will be working out of the front of our home, the office will be the first room guests see when they walk in our door and there are no doors to hide behind. I need all the help I can get to keep this new space nice and organized.
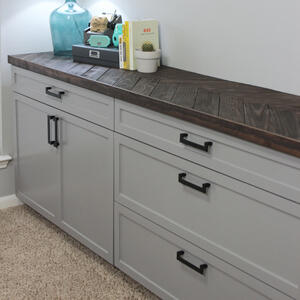
My dream was to have a wall of gray office cabinets in this space and the past month Brent has been working his butt off to make this a reality and the cabinets he built turned out AMAZING! From just a few sheets of plywood he made my organization dreams come true and he did it all for around $300.
This project was a big one and between me falling down on the photographing job (so many naps) and lots of late nights working to get the cabinets finished as fast as possible, we didn’t document as much as we intended so this isn’t as much a tutorial as a behind the scenes look at how these cabinets came together but we do have tutorials on how to build and install the drawers and how to create the herringbone countertop that you can check out.

Our office cabinets came together in eight phases:
1. Building the base/frame.
2. Building and installing the drawers
3. Building the drawer faces and the doors
4. Painting the drawer faces and doors.
5. Painting the base/frame
6. Attaching the drawer faces and installing the doors
7. Building and attaching the wood herringbone countertop
8. Attaching the hardware
1: BUILDING THE BASE OF OUR OFFICE CABINETS
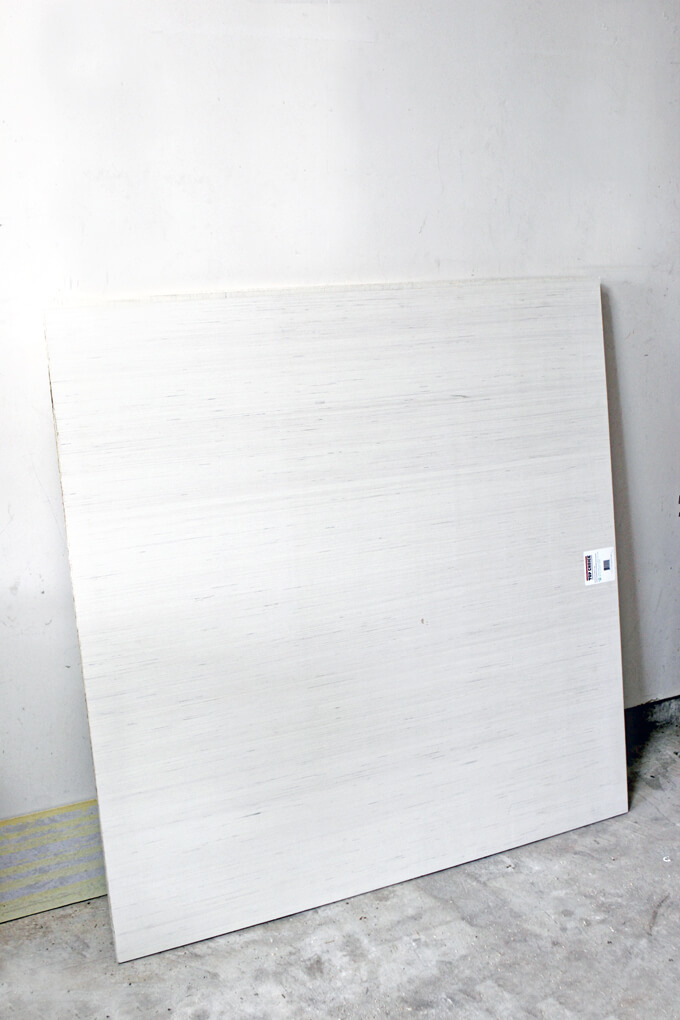
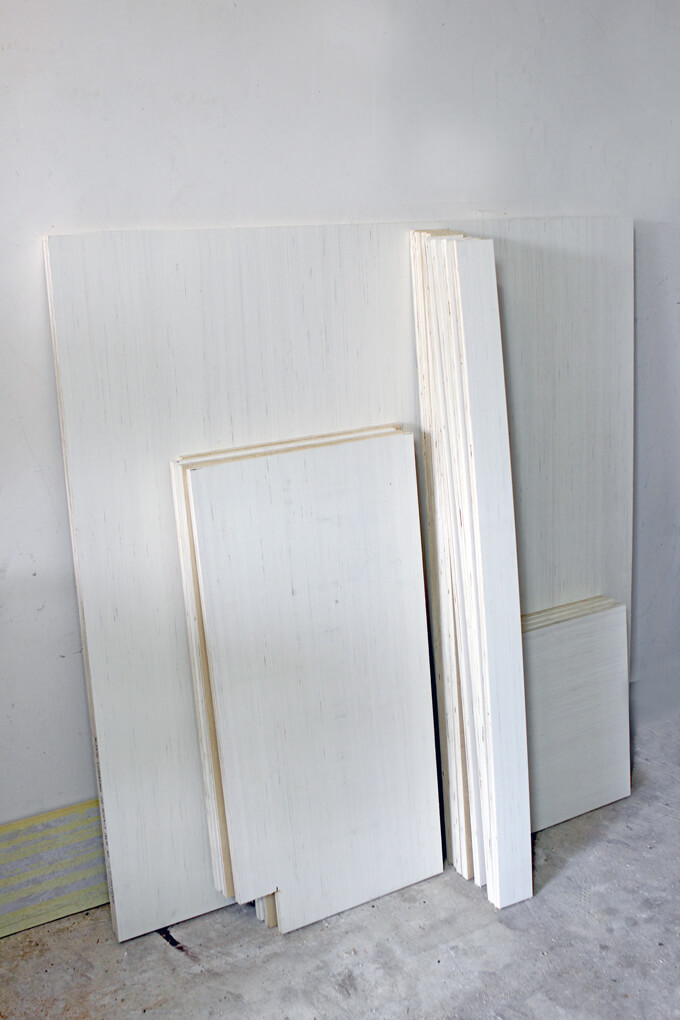
^^^ For the base of our cabinets we used one sheet of 3/4″ plywood.
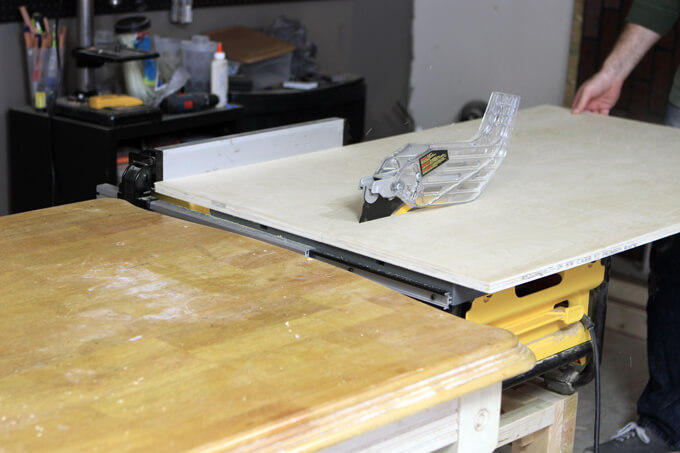
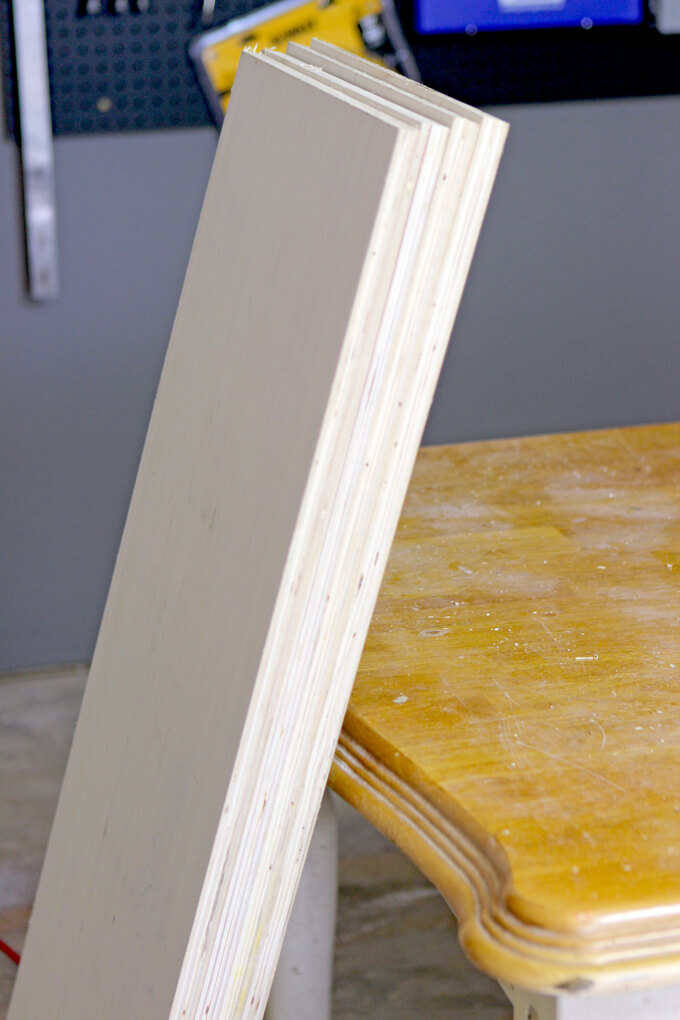
^^^ Brent used the table saw to cut the sheet of plywood into to four pieces. These pieces are the sides of our cabinets so he cut them to the height and depth the cabinets needed to be to fit the space.
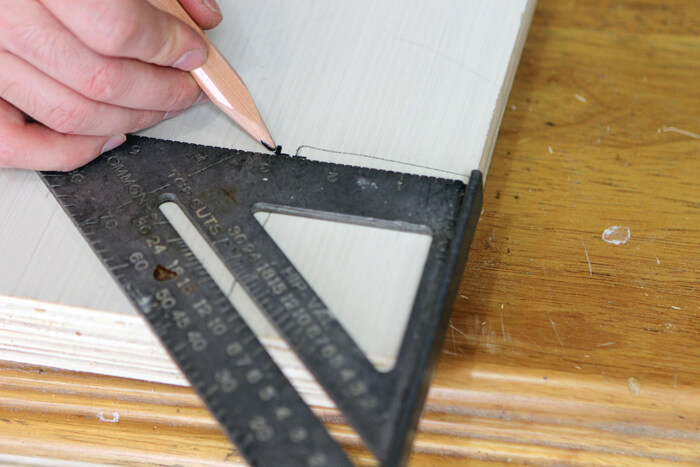
^^^ He used a framing square to mark where the toe kick would be on the bottom front of each of the four boards.
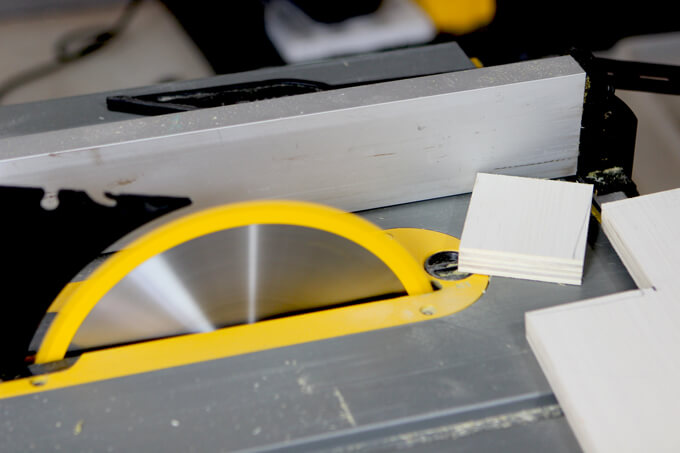
^^^ Then using the table saw he cut this square piece out each of the the boards.
^^^ Next, Brent cut the horizontal braces that would connect the sides of our base together.
^^^ After he made all of the cuts, we had the pieces ready to start building the base.
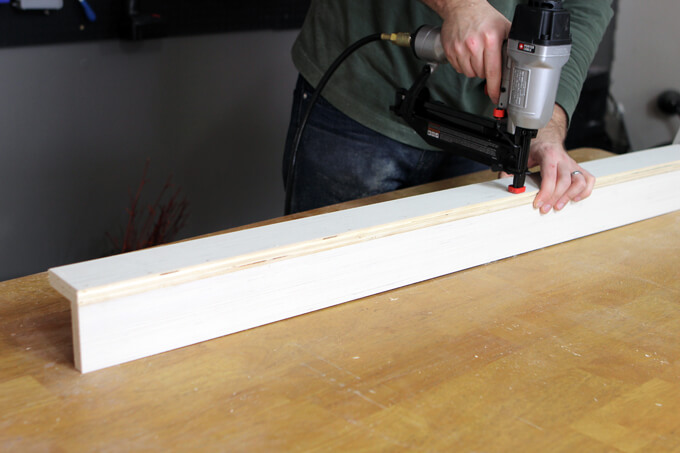
^^^ For the top back horizontal brace, he used a nail gun to secure two boards together in an L shape to make a stronger brace to support the countertop and allow us to anchor the cabinets to the wall.
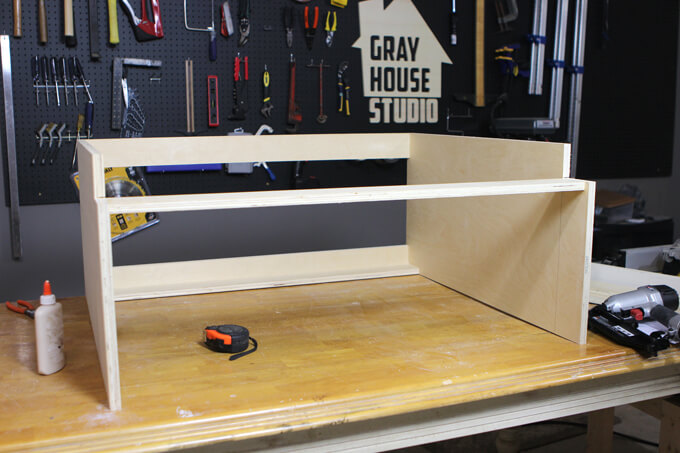
^^^ Brent used wood glue, a nail gun, and finishing nails to build the base. It came together rather quickly and after he finished one side he had to build the second side of the base. Then he added the shelves in the middle of each base. Check out a little behind the scenes video of how this part of the cabinet building process came together here.
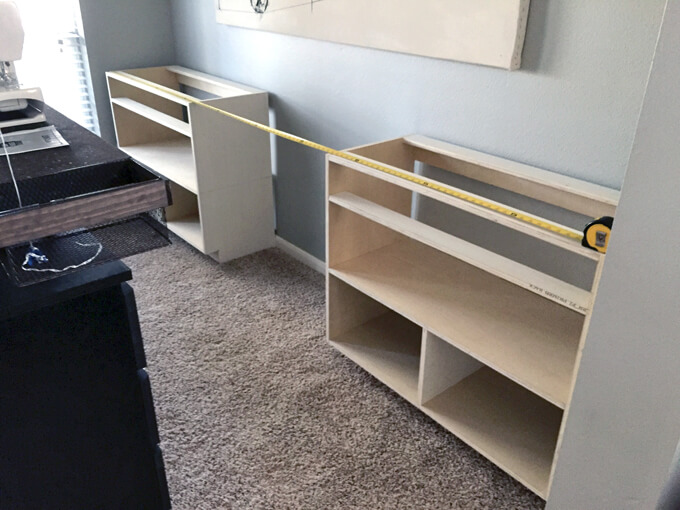
^^^ Once both sides of the base were finished, we brought them into the room.
^^^ We attached the two pieces together with additional braces. The middle section would eventually become large drawers.
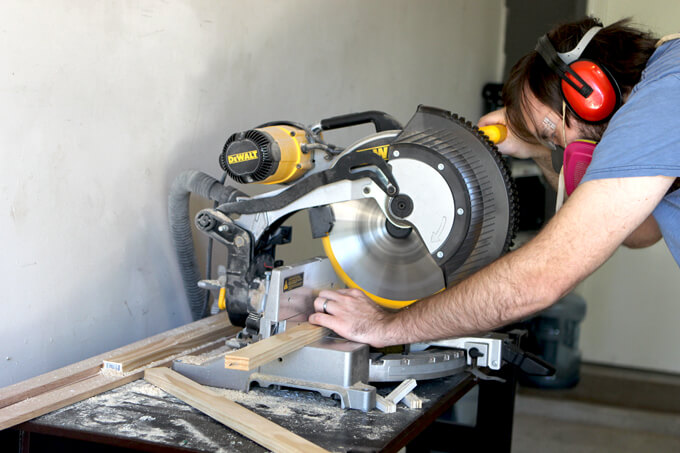
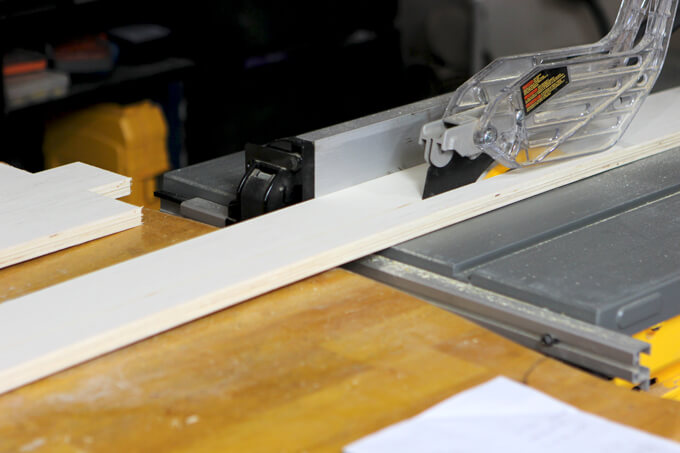
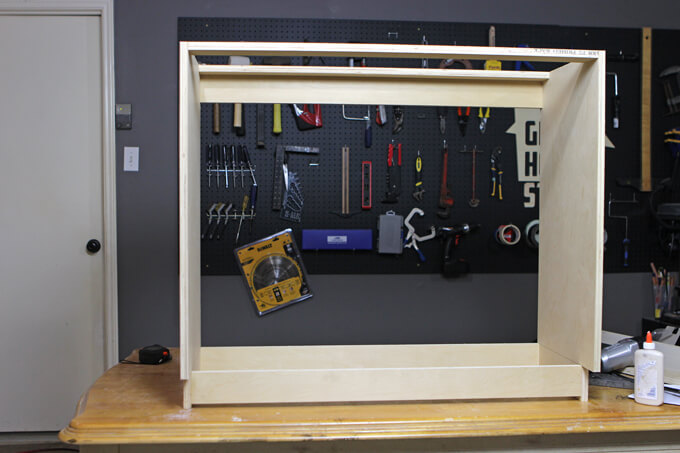
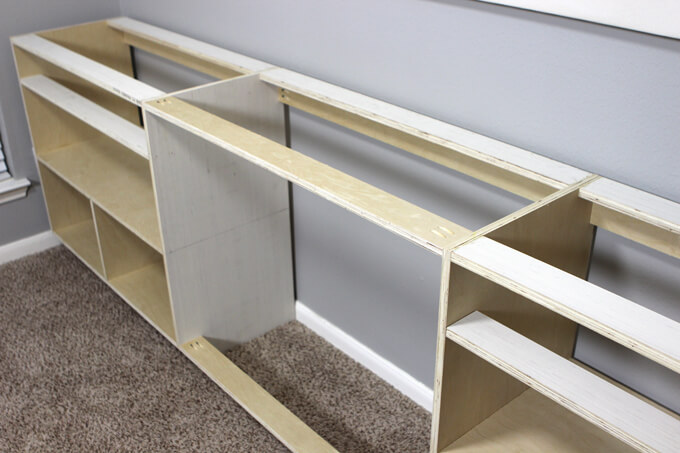
^^^ Next, Brent worked on creating the frame of the base. He use the miter saw to cut the pieces down to the correct length.
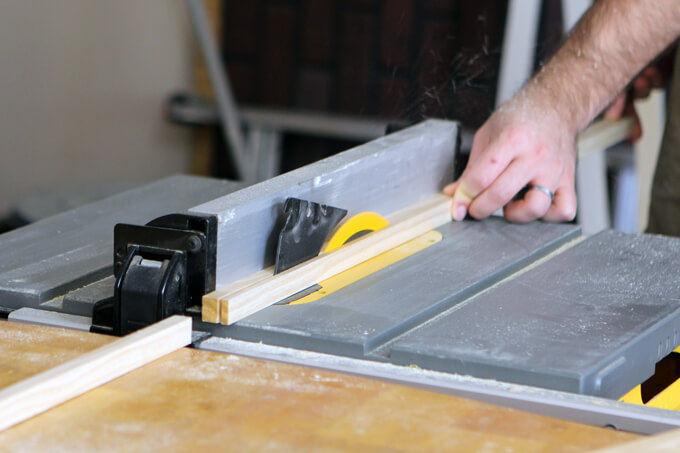
^^^ He used the table saw to cut the pieces down to the correct width.
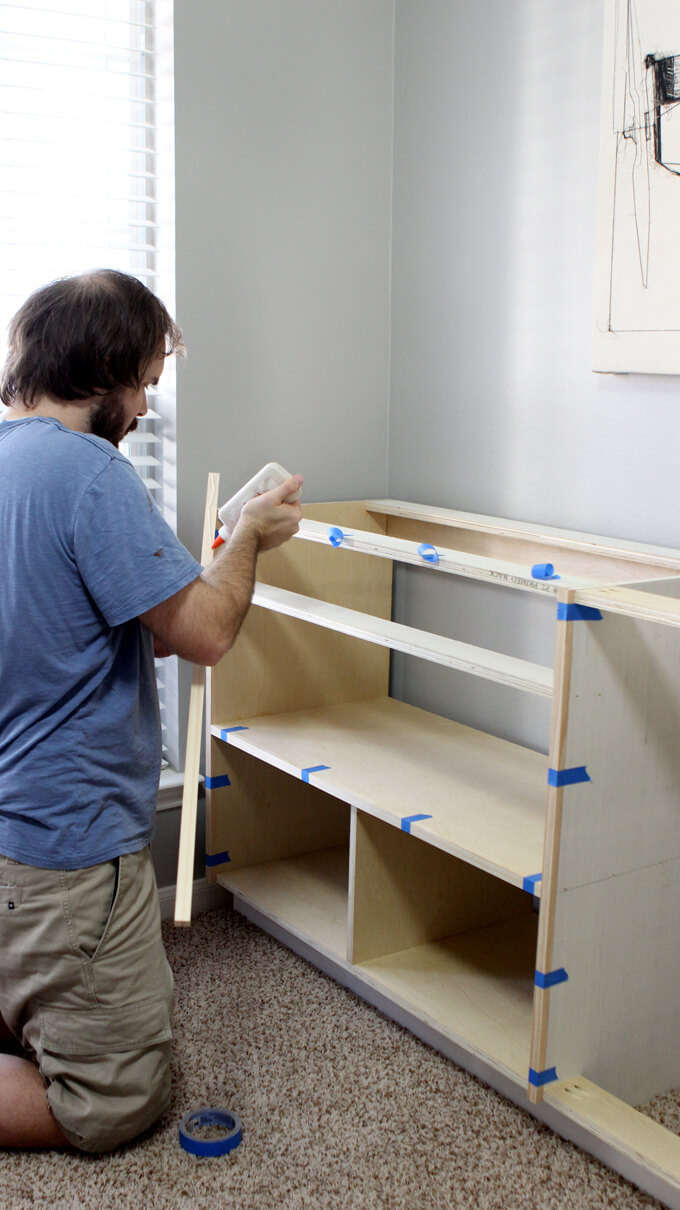
^^^ To attach the frame to the base, he put wood glue on the back of the pieces and held them in place with painters tape while they dried.
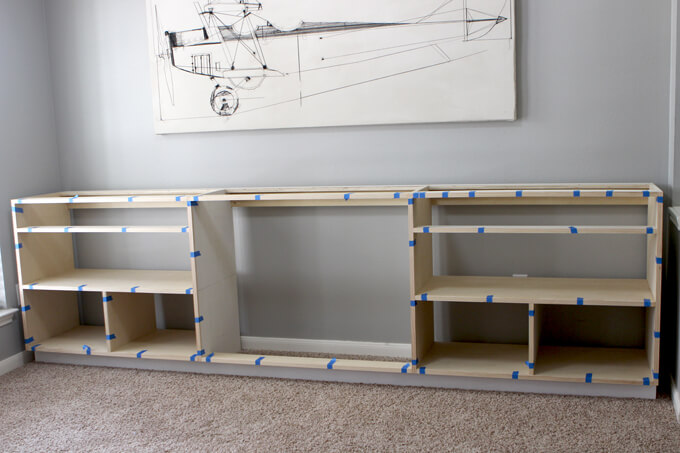
^^^ Now that our base was built and our frame attached, we were ready to start building the drawers.
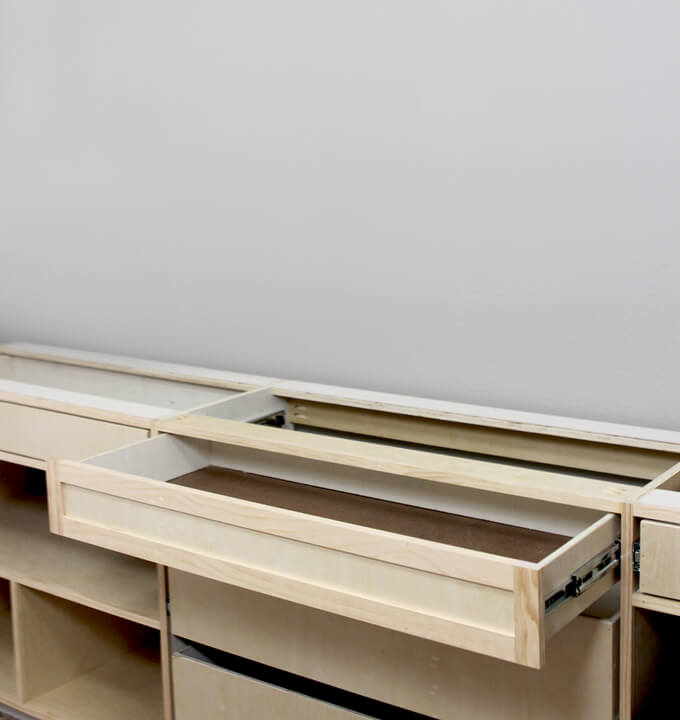
2: BUILDING & INSTALLING THE DRAWERS

We needed four doors and five drawers for our office cabinets. Brent was able to get his drawer building technique down to be as efficient and quick as possible which meant this part of the project went quickly. If you are interested in how we built and installed the drawers in our cabinets, check out our drawer building tutorial.
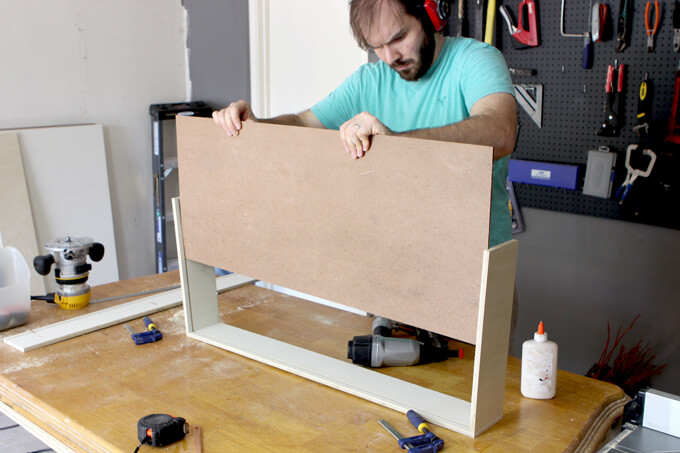
3: BUILDING THE DRAWER FACES AND DOORS
We used 1×2 select pine for our doors and drawer faces. To attach the rails and stiles together Brent used pocket hole screws. For the recessed piece in the center we used 1/2″ plywood that was glued to the backside of the frame.
4: PAINTING THE DRAWER FACES AND
DOORS
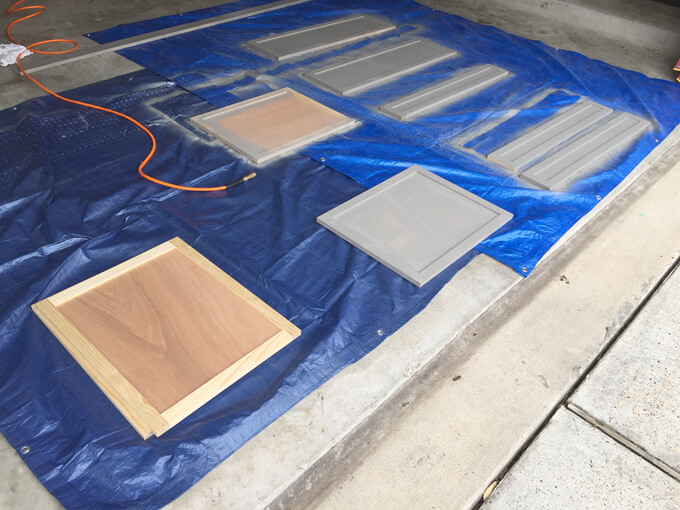
When it came time to paint the doors and drawer faces we went to my trusted paint guru, my dad, to help us pick out the right type of paint for our office cabinets. We used the ProClassic® interior waterbased paint from Sherwin-Williams.
I wanted the cabinets to be just slightly darker than the walls so we chose to go with Dovetail SW 7018 because it is on the same color swatch as our walls, Mindful Gray, just two shades darker and Dovetail is already on the walls in my current office so we knew we liked the color.
My dad has a spray gun and was kind enough to spray a few coats of paint on all of our of our doors and drawer faces for us. He even delivered them to our house when he was done. Thanks Dad! They turned out great!
5: PAINTING THE BASE
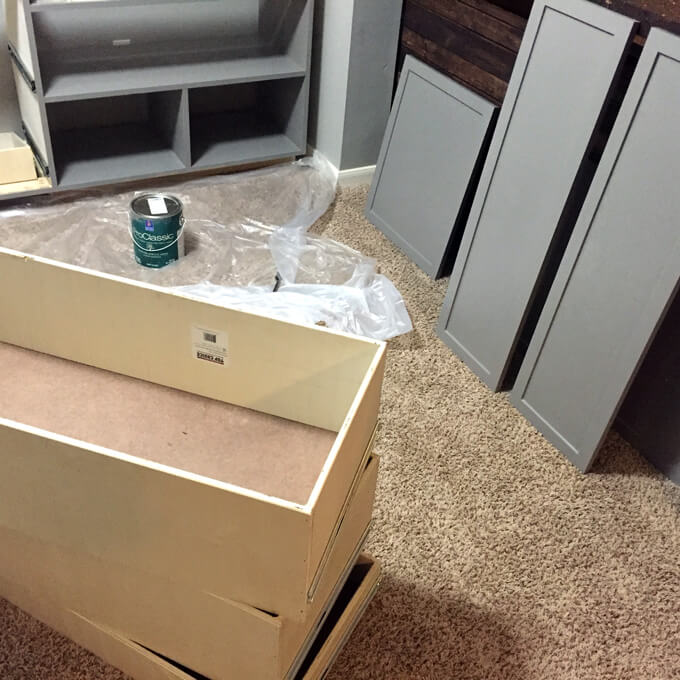
Next we took the same paint used on the doors and drawers and painted the base and frame of our cabinets. We put on one light coat on, let it dry, sanded it down, and then put a second coat on. We were just intending to paint the frame of the cabinets but then ended up painting the entire thing including the inside. I am glad we did because it makes it feel complete.
6: ATTACHING THE DRAWER FACES & INSTALLING THE DOORS
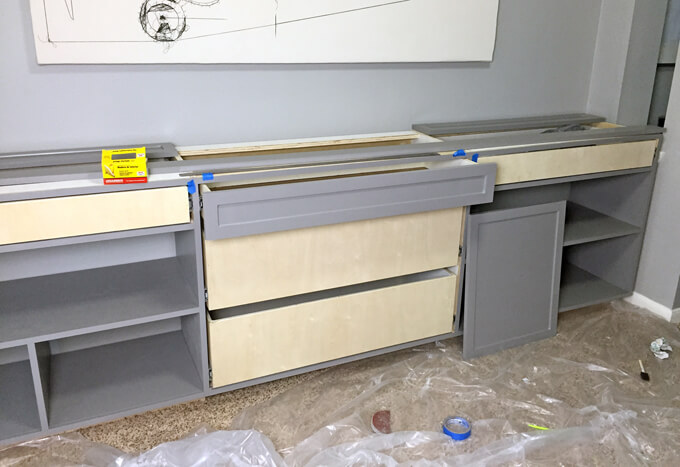
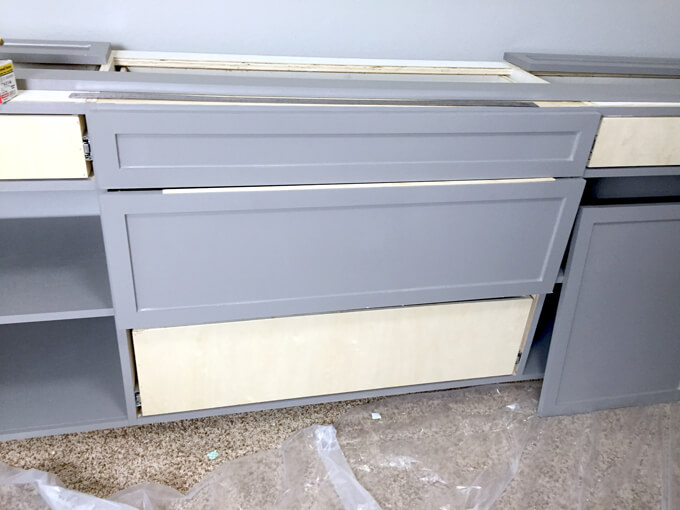
To attach the drawer faces to our drawers we used double sided tape to hold the piece to the drawer while we secured it with screws through the drawer from the back. We started with the three middle drawers then worked our way outwards.

We ran into a slight hiccup with our doors and the hinges we had purchased. They were too big and because our doors are so close together, when they would open they would rub against the drawers. We ended up using the smaller hinges from our IKEA bookshelf doors and they worked like a charm!
After all the doors and drawers faces were on, our base was finished!
7: BUILD WOOD HERRINGBONE COUNTERTOP
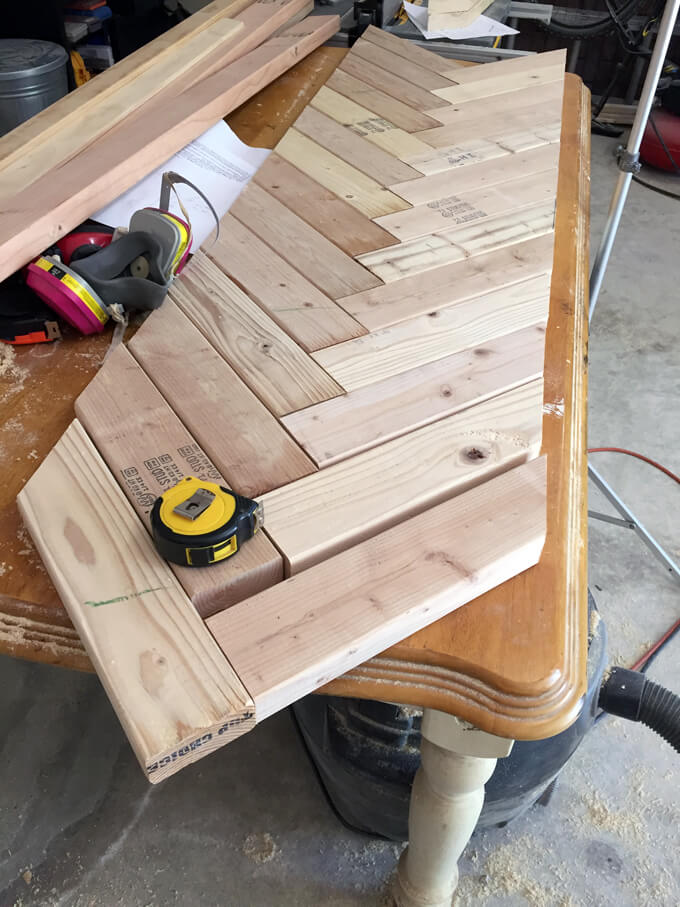
Then it was time to focus on the countertop for the cabinets. We kicked around several different ideas before deciding that since the countertop was more for decor purpose and wouldn’t get a lot of heavy use, it was a great time to try a herringbone pattern that we have been wanting to make. We plan on making the top of our coffee table in our library also with a herringbone pattern so it should all tie in nicely together.
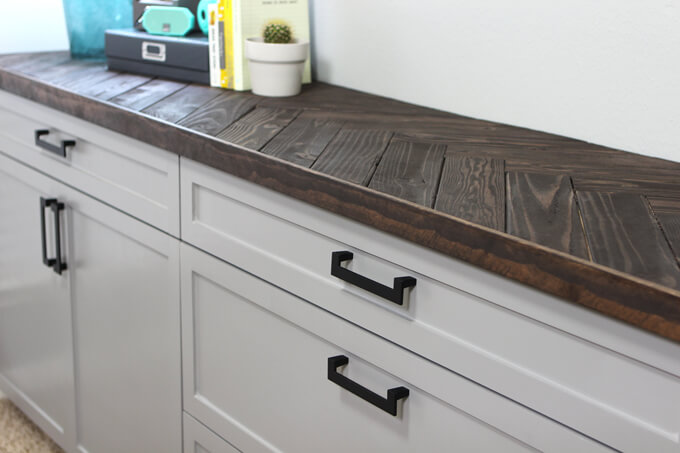
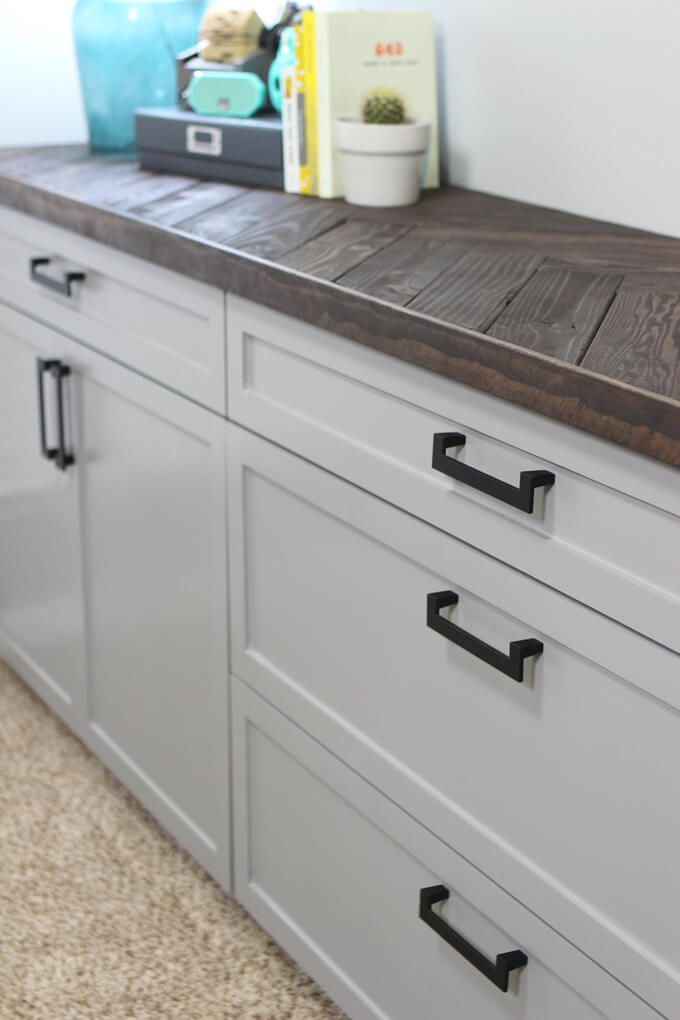
I have to say, I am pretty impressed with how Brent made this herringbone countertop. I love the pattern and of course that is is stained in our favorite Kona colored stain. You can check out the full tutorial on making a DIY herringbone countertop here.
8: ATTACH HARDWARE
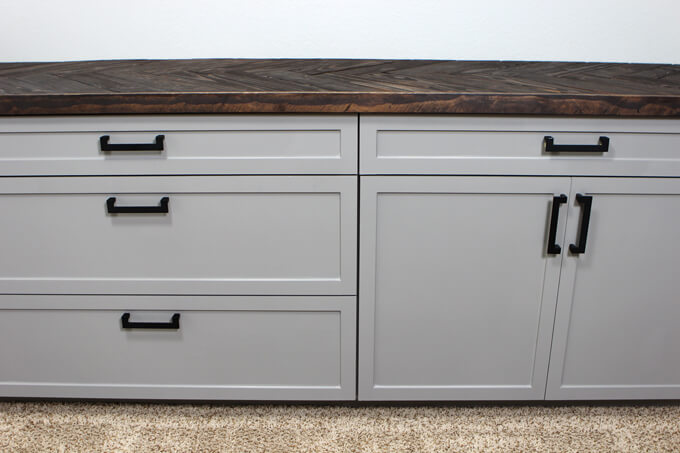
Finally, we added the hardware. I had my eye on these drawer pulls from Rejuvenation but at $55 a piece, we couldn’t afford them especially since we needed to buy nine of them so we took to Amazon and after lots of searching, wouldn’t you know we found some that were pretty dang similar for only $9.48 a piece. That was a happy day indeed.
OFFICE CABINET DETAILS
DRAWER PULLS: 5.7-Inch Drawer Pulls in black
PAINT: Sherwin-Williams ProClassic® Waterbased paint in Dovetail SW 7018
COUNTERTOP STAIN: Rust-Oleum Ultimate Wood Stain in Kona
*This post contains an affiliate link. You can read our disclosure policy here.
After the cabinets were finished, it took me about two days to move everything from my old office into my new cabinets and it felt so nice to purge things that were not needed and give the things I do need a place of their own to go back to. I have said it time and time again but I truly believe the key to organization is having specific places to put items back after use. Everything fit perfectly in the new cabinets and I even had a little extra space.
Check out how to build a herringbone countertop or how to build a cabinet drawer.
We are really happy with how our office cabinets turned out and are excited to continue working on our home office makeover. Our next project is build a brand new desk that will better fit in this space. I can’t wait!
I love this plan and would like to build the cabinets for my office, do you have cut lists?
Hi Chris! Thank you! We are seeing a lot of interest in the plans for this project so we have added it to our “to-do” list to add to our plans section. We are hoping to get it on our site soon.
It’s awesome that this article talked about building office cabinets. It really helped when you provided the phases of installing a cabinet, very detailed and informative. However, please allow me to suggest that aside from the cost and sizes, we must also consider installing it according to our needs.
The project came out beautifully! I always want to know approximately how much the the project cost before I dig in. Do you mind giving a ball park of the cost?
I like this idea! Thank you for sharing!
Thanks Dany!
I just wanted to say congrats on the baby!!! That is so exciting! And this project looks amazing, I can see all the hard work that went into it. Best wishes!
Thanks so much Sarah! We are very excited! That is so nice of you to say about the cabinets, Brent definitely put a lot of hard work into them. 🙂
Wow, your work just keeps getting better and better. We would never tackle a project this large. Good for you. It is beautiful!
Thank you for the kind words Diane! It was a big undertaking for sure!
Congratulations!! I had a feeling this was your news when you said you were moving your office. So exciting 🙂 These cabinets are absolutely gorgeous!
Thank you, thank you Gretchen! I figured I wasn’t being too sneaky. I thought someone might figure out our news. 🙂 And thank you for the sweet words about our cabinets. That means so much to us!