Create a fall crate display to decorate your front porch for the Fall season.
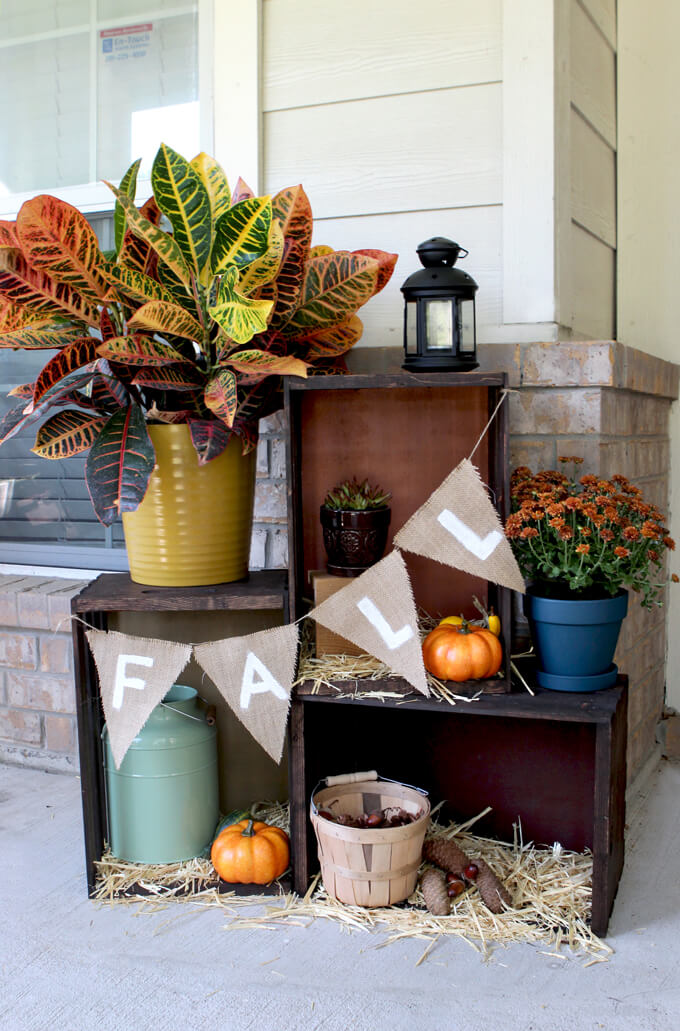
Even though you can’t tell by the weather here in Houston (Is it sad that when it gets to be about 96 degrees we say it feels good outside?) fall is fast approaching.
This year we decided to get a jump on the season and create a few DIY fall decor projects for our front porch. So when those cooler temperatures finally reach us way down here in Houston, we will be ready.
The first project we are going to share with you today is our Fall Crate Display. This is a really simple decor project to create and customize and can be set up anywhere from on your porch to in front of your fireplace.
Plus, it transitions well with the seasons so with just a little switching out it can become a winter crate display.
How to Create a Fall Crate Display
SUPPLIES
- (3) Wooden Crates
- Rust-Oleum Kona Stain
- (3) Small Plywood Sheets
- High-Density Foam Paint Roller
- Cavern Clay Sample Paint
- Baguette Sample Paint
- Fiery Hue Sample Paint
- Mounting tape
FYI: This post contains a few affiliate links to products we used to make this project. Gray House Studio does receive commissions for sales from these links but at no extra cost to you. We appreciate you supporting this site. Read our privacy and disclosure policy. You can also easily shop our recommended products here.
STEP BY STEP GUIDE
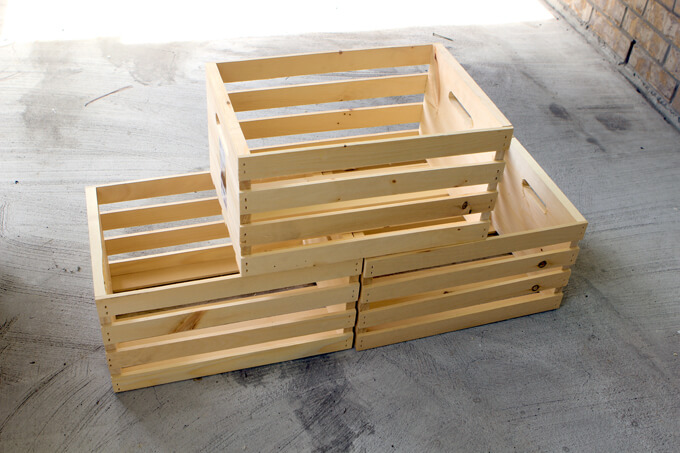
1. We bought three wooden crates. The ones we were made of unfinished pine.
You can have as many crates as you like in your display depending on the amount of decor pieces you intend to add. You can even incorporate different sizes of crate to create interesting shapes.
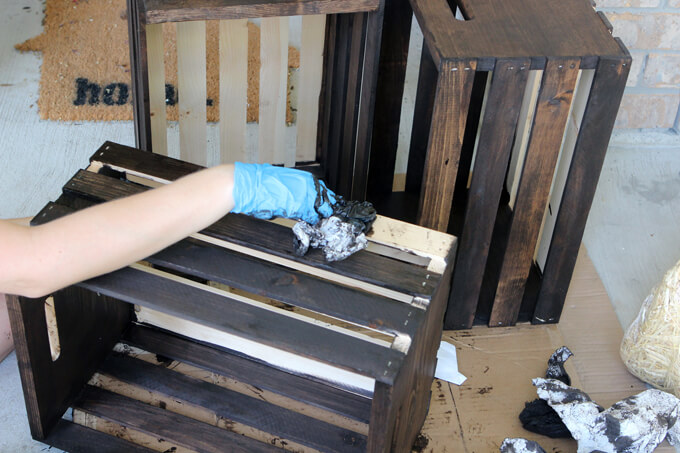
2. The next step was to stain the crates to give them a more high end feel. We used our favorite Kona color stain.
Staining these crates was kind of a pain and time consuming. It is not a hard task, just a tedious one.
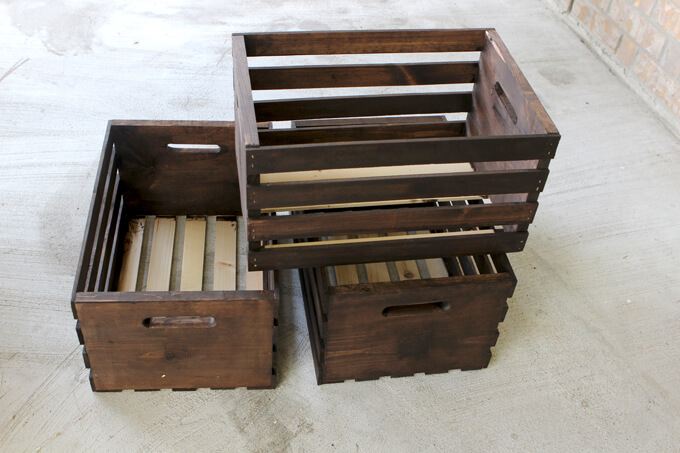
3. Once I was done it was worth it. We didn’t bother to stain the bottom of the crates and I will explain why in the next step.
Depending on the look you are going for you can rough up and weather the wood or even add a graphic or text to make it look like a vintage crate.
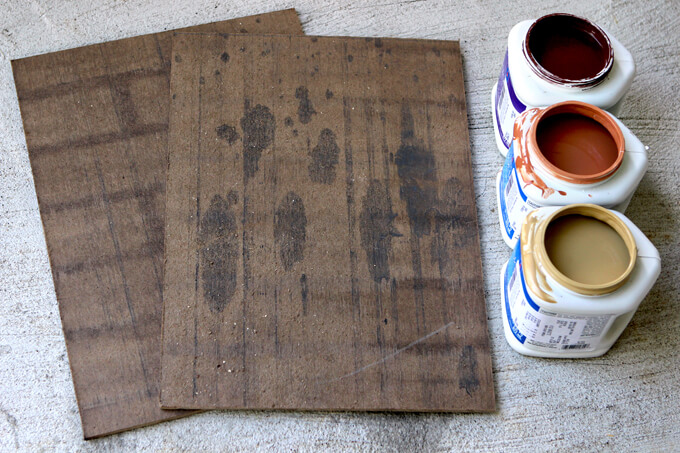
4. We decided to take it a step further. To transform the crates into a cohesive display and add in more color to this set up.
We used scrap pieces of wood but you could also use plywood to cover the bottom of the crates.
When we flipped the crates on their sides these boards would be the background. There are endless possibilities in what you can do to create cool backgrounds.
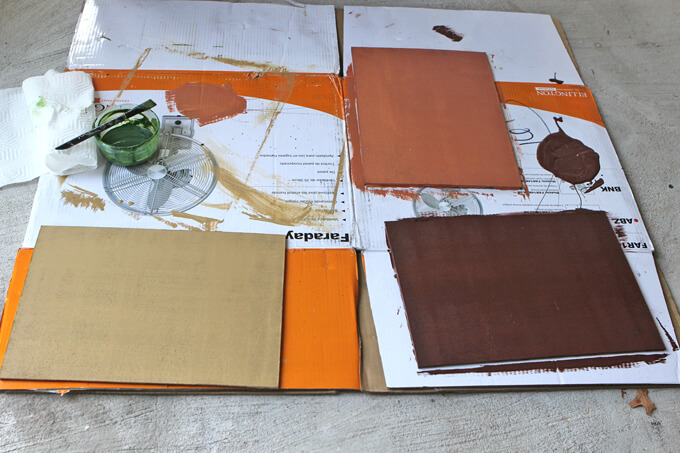
5. We decided to stick with simple backgrounds and paint them with mute fall colors. We used some sample paint colors we had left over from another project.
We used a high-density foam paint roller to paint the plywood boards Cavern Clay Sample Paint, Baguette Sample Paint, and Fiery Hue Sample Paint.
You won’t need much paint for these boards so inexpensive cans of sample paint are the way to go. I just poured some paint onto a piece of cardboard and rolled in onto my scrap pieces of wood that would become my crate back.
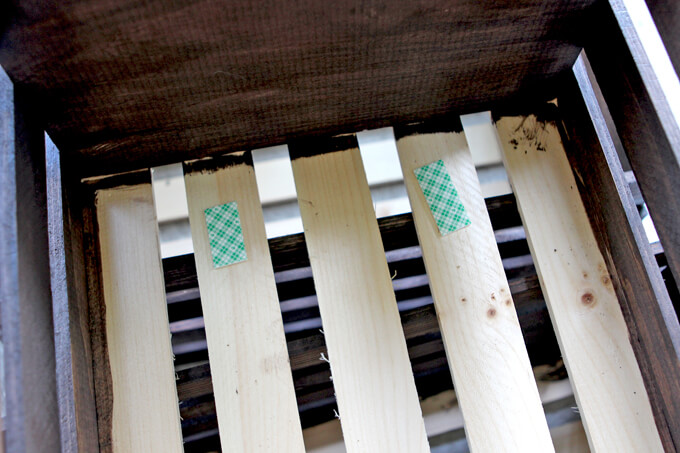
6. Once the painted pieces of wood dried, we secured them to the bottom of the crate with foam tape.
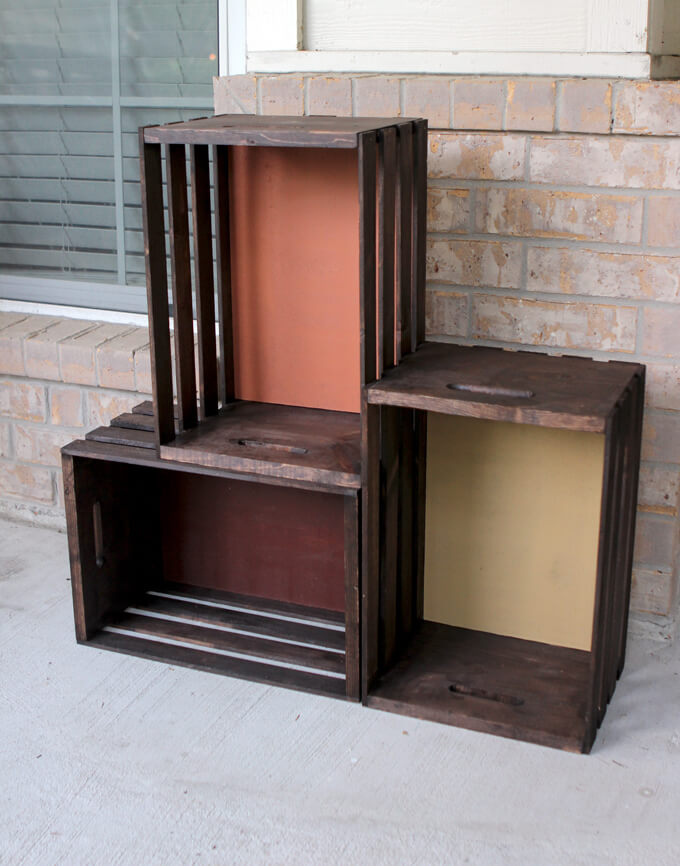
7. Next, we arranged and rearranged them until we found the best combination that would fit our decor pieces.
I tilted the crate that sits on top of the other crate at a slight angle to allow for more surface space so the items could spill out of the bottom of top crate onto the top of the bottom crate.
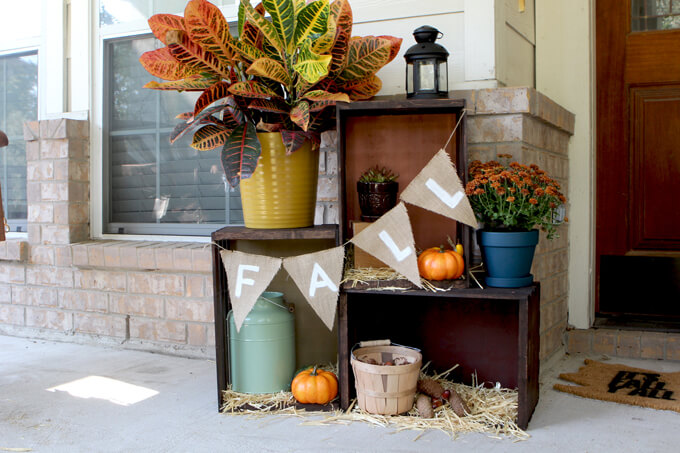
8. The last part is the fun part! To decorate our fall crate display we mixed traditional fall decor items such as pumpkins and a burlap banner with natural elements such as pine cones, acorns and leaves (which depending on your location you can find just laying around outside).
Adding flowers and plants to our front porch is always fun so we paired pretty colored mums with the more unique looking Croton plant.
Adding some hay to the bottom of the crates adds some texture, defines the bottom of the crate, breaks up the dark color of the crates and definitely gives it that authentic barn feel (and smell).
We have a lot of warm tones going on so we mixed in some contrasting color like shades of blue in the flower pot and tins to really make them pop. We have learned you don’t always have to buy a bunch of new pieces but can re-purpose things you may have sitting around somewhere else.
For this display we incorporated a lantern and tin we had sitting around inside to give it a rustic/barn feeling. When styling the crates we always try to pair taller items with shorter pieces to maximize space without making it look overcrowded.
What we love about this fall crate display is it creates a purposeful space for arranging and showcasing fall decor pieces on our front porch. The beauty of it is with just a switch of the back piece of wood and decor items it can effortlessly transition from a rustic fall look to a rustic winter look come December.
Looking for more fall inspiration? Check out these easy DIY fall porch decor projects or how to throw a fall party!
PIN IT FOR LATER

If possible could you please share the measurements (height width length and depths) of your crates?
What a great idea. I love the colors and nice to change out the inside.