
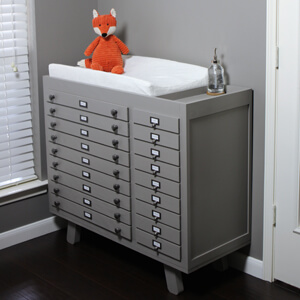
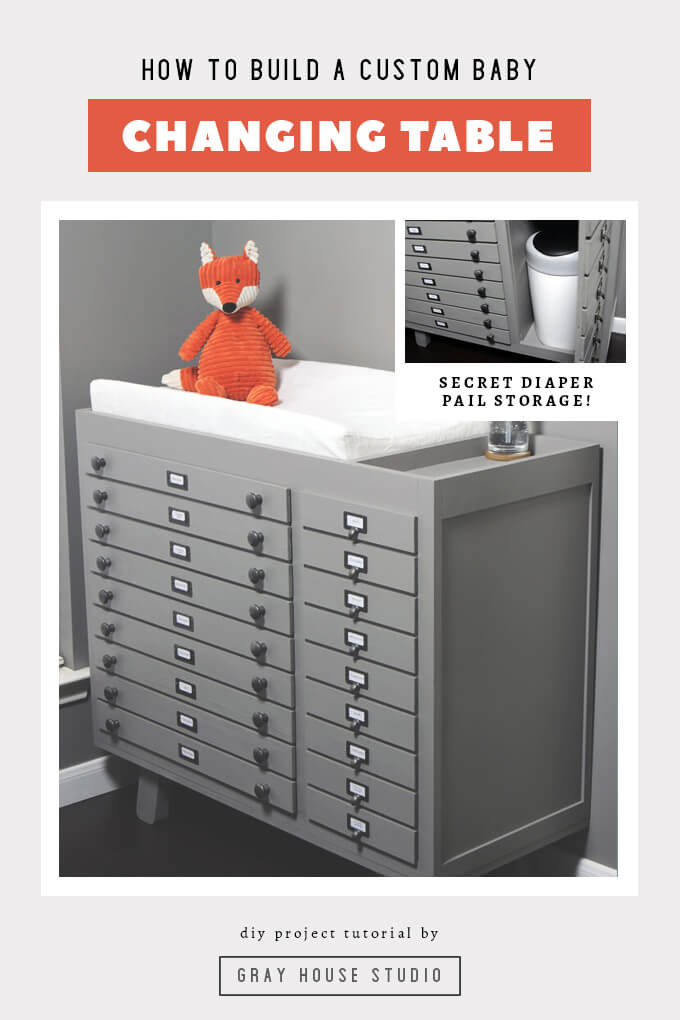
Brent built a baby changing table that has a printmaker cabinet aesthetic but with a modern design to match the crib in the nursery. Behind the doors with faux drawers, we are hiding all the necessary changing table supplies including a diaper pail.
We have somewhere around three weeks (or sooner…eek!) until our little Gray House intern makes his arrival and we have been scrambling to get his nursery ready.
Back in July we thought we had ALL the time in the world to get projects finished but when you are trying to DIY 90% of the nursery and only have the weekends to work on it, time runs out REALLY fast.
We had to start prioritizing our DIY nursery projects and the first and most important project on the list was to build a baby changing table since it is an essential part of the nursery.
When it comes to designing furniture for our home we like to create pieces that fit the aesthetic of the room but are functional as well. For the changing table / cabinet we spent a lot of time focusing on the design.
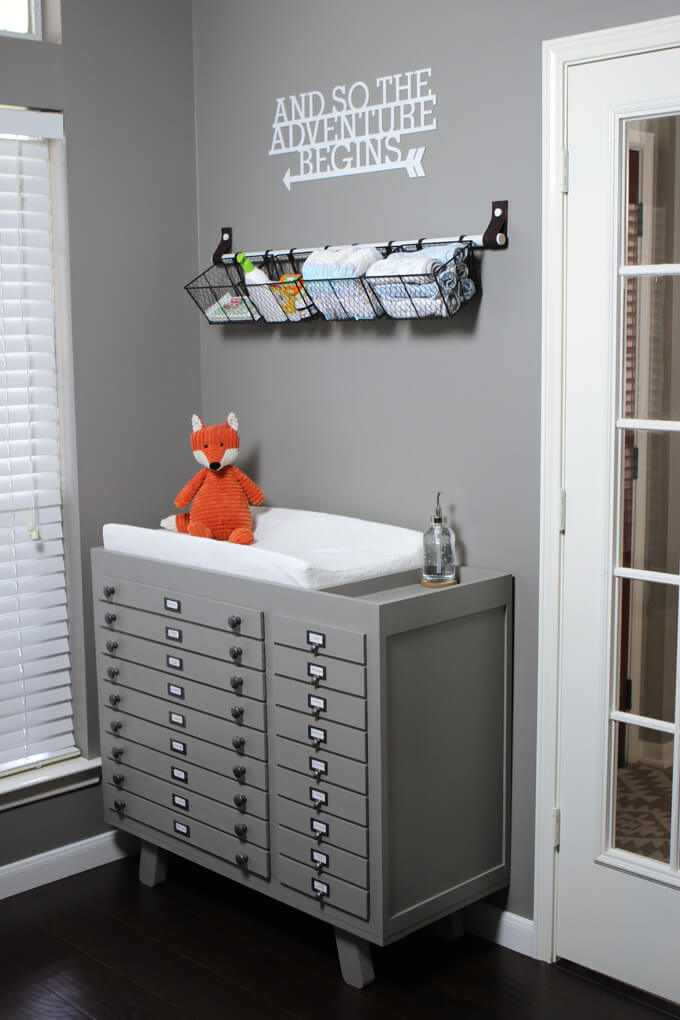
We really wanted it to match the Hudson crib from Babyletto that my parents gave us so all the large pieces in the nursery would have a cohesive look and feel.
But we also needed it to have plenty of storage space to hide the items we didn’t want sitting out in the open.
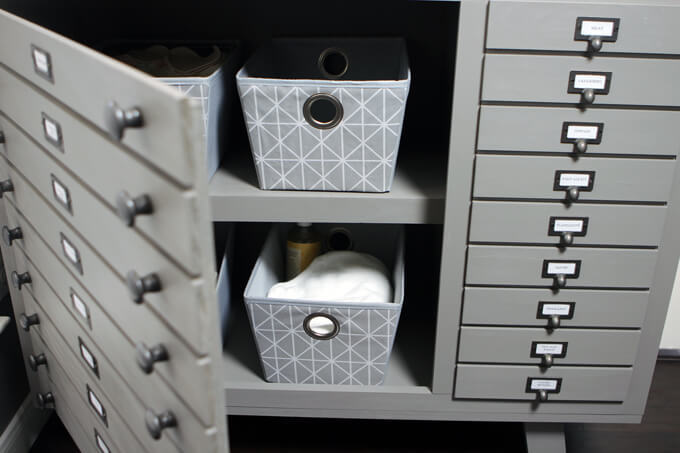
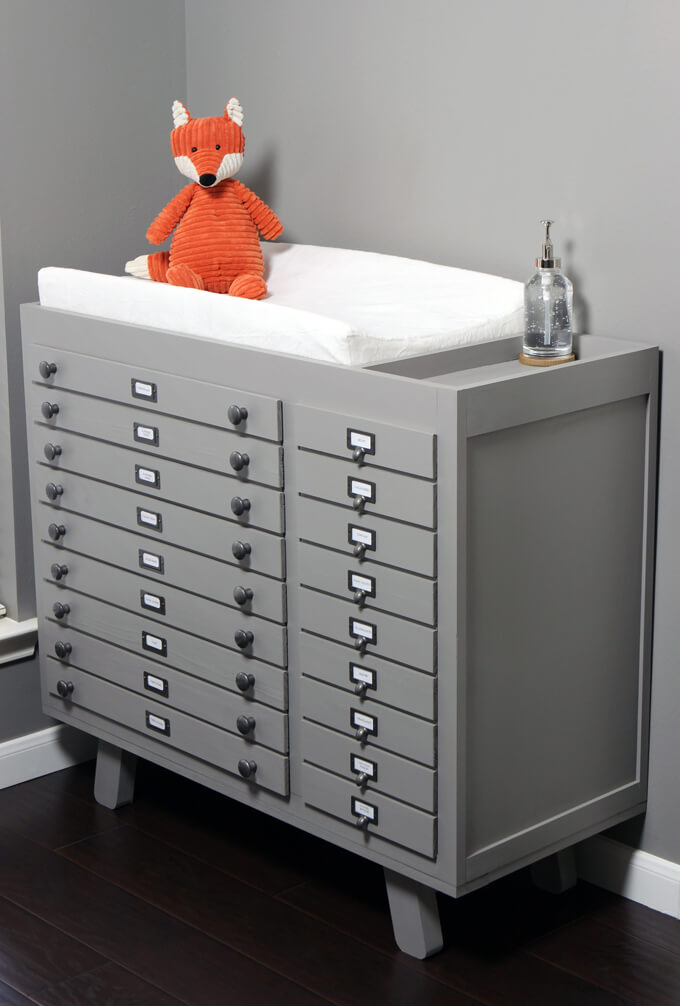
We designed the baby changing table to look like a modern printmakers cabinet with the large amount of drawers but they are actually all fake! In reality there are two doors.
Behind the wider door is a shelf with large baskets where we are storing extra diapers, nursing supplies, lotions, burp cloths, etc.
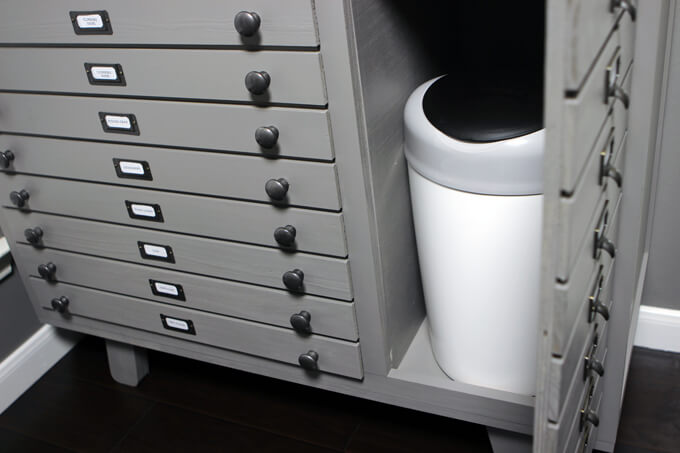
Behind the narrow door is a diaper pail. What is great about custom made pieces is you can build them the exact dimensions to fit the items you need to store, such as a diaper pail. Because really, who wants an unattractive diaper pail out in the open?
The only hiccup can be if you get the measurements for a diaper pail online instead of buying it first and on the website instead of giving the dimensions of the product, they give you the dimensions of the box the product comes (not assembled) in.
But you don’t realize that so you build the entire cabinet around the dimensions of the box the diaper pail comes in only to realize when you go to buy it that it is taller than the website said and therefore will not fit in the custom spot that you built for it.
Luckily, we were able to find a different diaper pail that fit perfectly and will work just fine. That was a close one! Ah! Lesson learned, buy the diaper pail first.
How to Build a Baby Changing Table
SUPPLIES
- 1″x2″ Select Pine Boards
- Plywood
- Masonite
- Miter saw
- Table saw
- Wood Glue
- Drill
- Kreg Jig
- Nail gun
- 1 ½ inch finishing nails
- Router
- Sherwin-Williams ProClassic® Waterbased Paint in Dovetail
- Metallic Dark Steel Spray Paint
- Label Drawer Pulls
FYI: This post contains affiliate links to products we used and liked for our baby changing table. As an Amazon Associate Gray House Studio earns from qualifying purchases. This is at no extra cost to you. We appreciate you supporting this site. Read our privacy and disclosure policy.
TUTORIAL VIDEO
Subscribe to our YouTube Channel
Like our video? Please subscribe and help us reach our goal of 100k subscribers.
STEPS
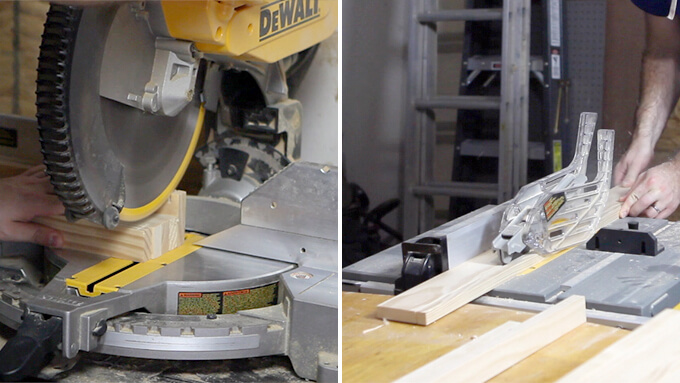
1. To start the baby changing table Brent cut the 1″x2″ select pine boards on the miter saw and cut multiple boards at the same time if they needed to be the same length.
He used the table saw to cut the boards to the correct width.
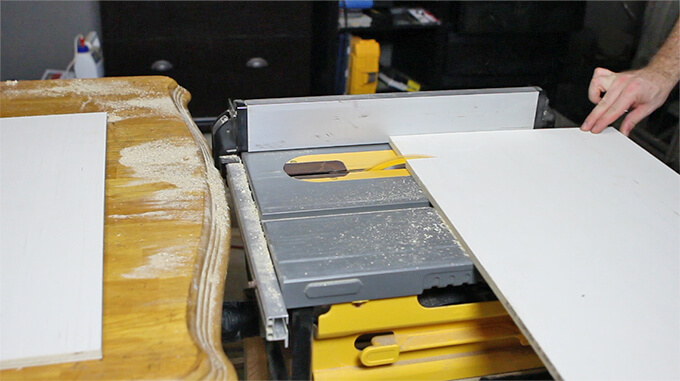
2. Then he cut all the plywood for the project down to size on the table saw.
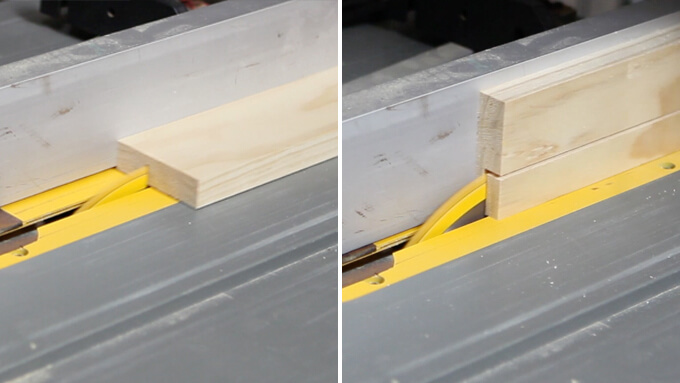
3. To inset the two side panels made of plywood into the top and bottom rails, he cut a slot in each of the rails the same thickness as the plywood side and 1 inch from the bottom of the rail.
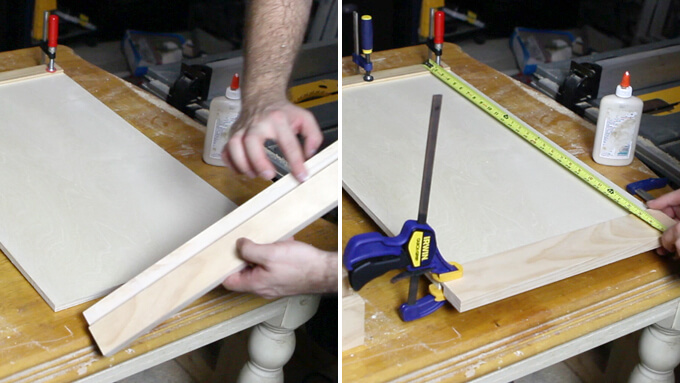
4. To start assembling the baby changing table Brent glued the slotted rails to the plywood sides with wood glue and used clamps to hold the boards together until everything dried.
He used a measuring tape to straighten the rails to the plywood to make sure it was square before he tightened the clamps down.
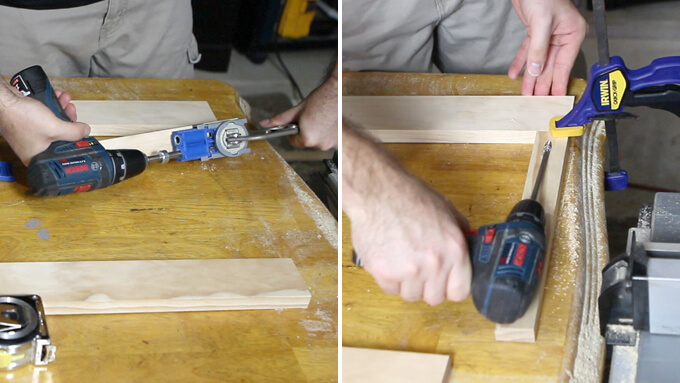
5. While the two sides dried, he drilled pocket hole screws in the boards using a drill and Kreg Jig that would go together to make up the front and back frames of the baby changing table.
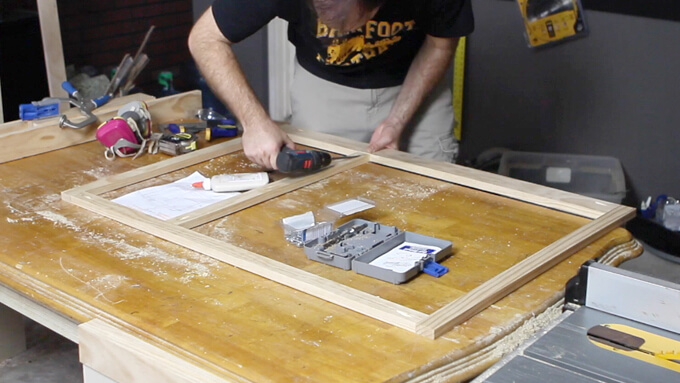
6. Then he glued and screwed the pieces for the front and back frames together.
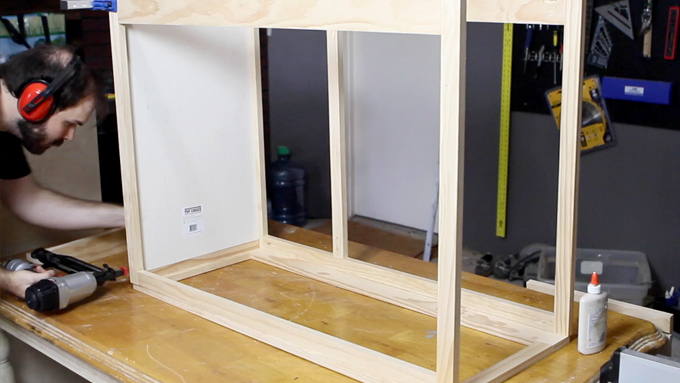
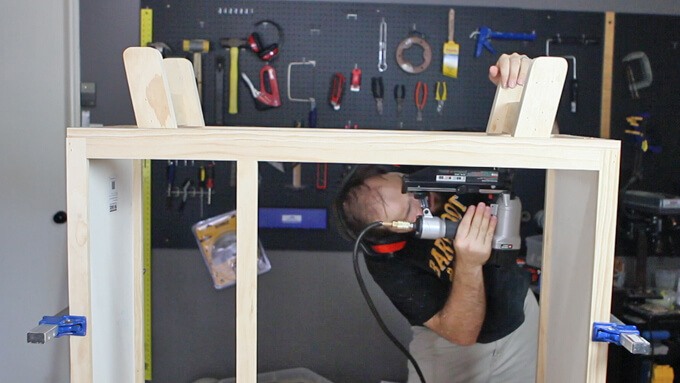
7. Once the sides and base were put together, he used a nail gun, 1 ½ inch finishing nails and wood glue to assemble the shell of the baby changing table.

8. Since we wanted the legs of the changing table to match our crib, Brent made a paper template of the crib legs and traced the legs onto the boards that would be the legs of the changing table.
Once those pieces were traced, he used a miter saw to cut the angle at the top of the legs so that the legs would mount to the changing table at the same angle.
Since the boards we were using were only ¾ inch thick, and we wanted the legs to be an inch and a half thick, he glued two boards together per leg.
Then he used a router to round off the bottom edges of the legs and then used a sander to prep the legs for paint.
9. Once sanded and ready for paint, Brent attached the legs to the bottom of the changing table with finishing nails.
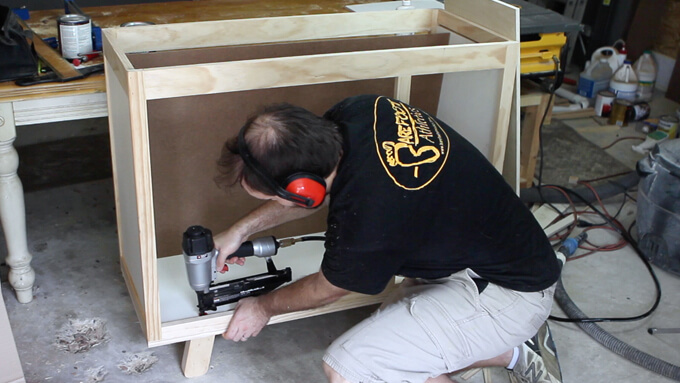
10. Next, Brent attached the back piece of masonite and the bottom piece of plywood on the inside of the changing table,
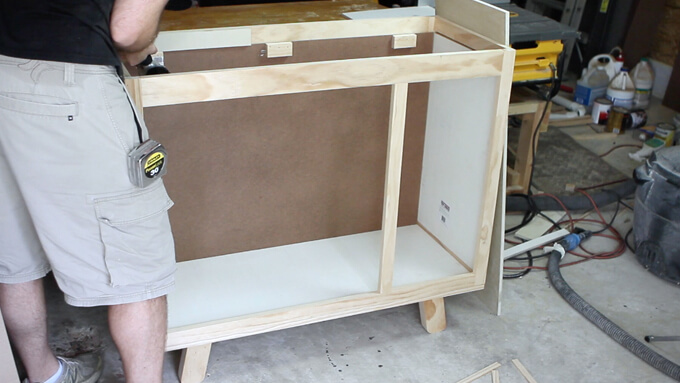
11. To support the weight of the top of the cabinet, he attached little blocks of wood inside the changing table.

12. Then, Brent used finishing nails and wood glue to attach the top to the baby changing table.
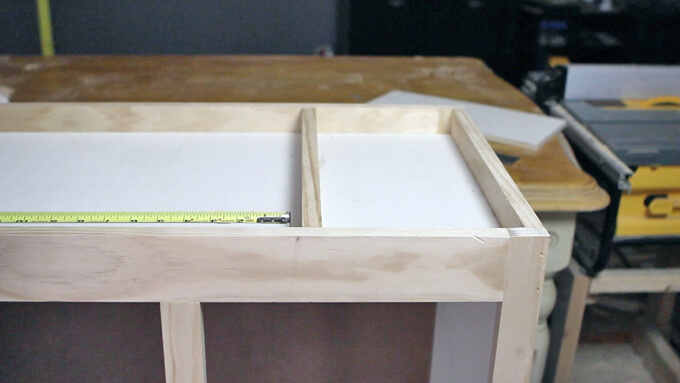
13. The divider that separates the space between the changing pad and the area to store other items was nailed and glued to the top board.
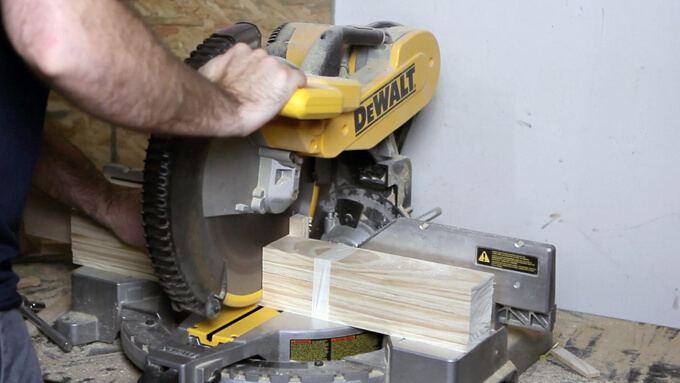
14. After the main part of the cabinet was assembled, he moved on to the doors and started by cutting each of the slats that would serve as fake drawers on the face of the doors.
By taping all the boards together it was easier to cut all the pieces at once on the miter saw and make sure they were all the exact same length.
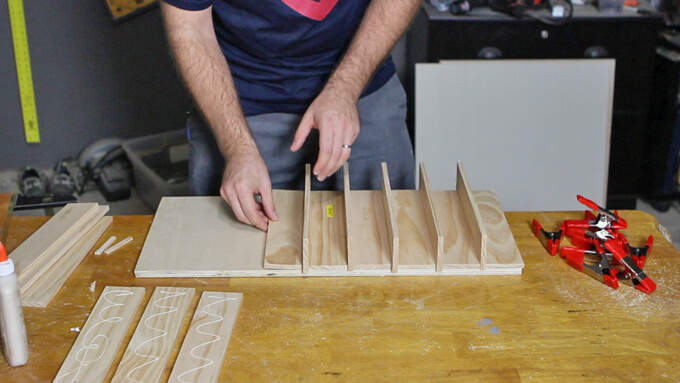
15. After all the fake drawer pieces were cut, he glued and clamped the slats to the piece of plywood that was cut to the right size for the door. He did this for both the wide door and the narrow door.
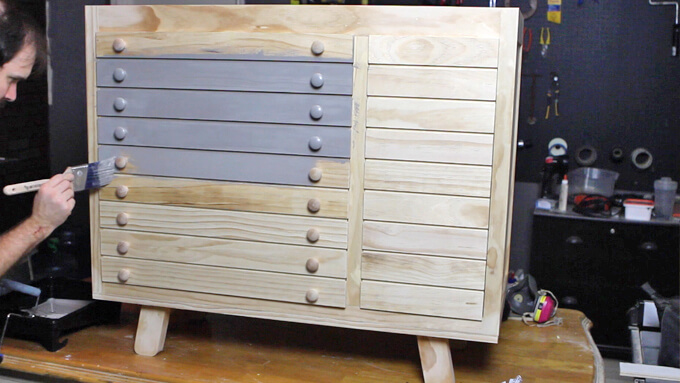
16. Finally, with the baby changing table built, it was time to paint the entire cabinet. We used ProClassic® interior waterbased paint from Sherwin-Williams that was leftover from when we built our office cabinets. The color (Dovetail) matched very closely to our gray crib.
We went back and forth on what color to make the knobs but finally decided to paint them a dark metal color using Rust-Oleum Universal Metallic Dark Steel spray paint.
We also painted the label drawer pulls the same color to match the knobs and sticking with our outdoor theme and just to make it more fun, we labeled the faux drawers with rock climbing and camping gear supplies.

Being pregnant in the 100 degree Houston weather is no fun, I’m just saying. However, Brent argues that building furniture in a 100+ degree garage is no fun either which I can definitely understand because I have been avoiding being in the garage or outside as much as possible this summer (unless I am submerged in a pool).
This has left poor Brent working on building the majority of the nursery projects by himself in the heat.
I really do appreciate his dedication to making our son’s room awesome (this is seriously my favorite room in our home now) and bringing our vision for an outdoor modern nursery to life. He is awesome like that.
PIN IT FOR LATER

Do you have plans or dimensions for this baby changing table? Thank you very much