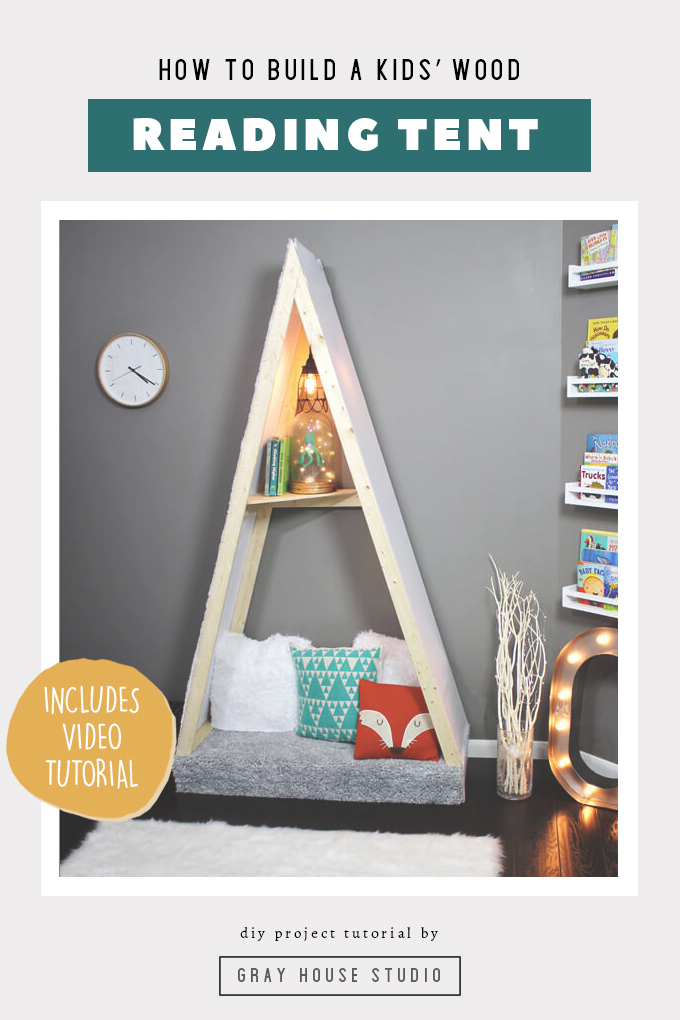
Check out how we we built our son a kid’s reading nook tent made out of wood and canvas for his modern outdoor nursery.
We have been hard at work making an outdoor modern nursery over the last few months for our baby boy. We wanted to transform the room so that when he gets older he feels like he is being transported to a space of whimsy and adventure that will encourage his imagination to run wild.
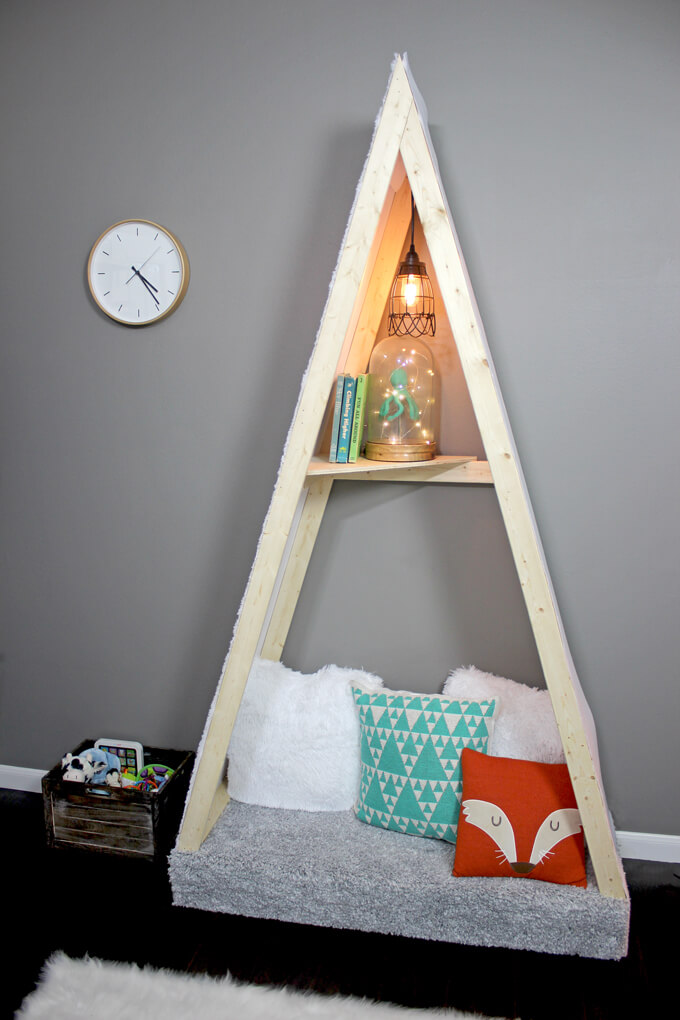
One project that Brent and I were really excited about creating was a kid’s reading nook tent that would be a centerpiece in the room.
Even though he is just a newborn and the tent is more of a decor piece right now, we wanted the room to be able to grow with him and create a fun spot he could curl up in and we can read together and play pretend. Because you can’t go on an outdoor adventure without a tent!
Update: This piece turned out to be more special than we had hoped. When our son was one and first learning to walk he pulled himself up onto the base of his wood tent, sat down on it and then stood up and start walking!

How We Built A Kid’s Reading Nook Tent Out of Wood
SUPPLIES
Shop the products we used for this project in one place.
- Table Saw
- Plywood
- Square
- Wood Glue
- Nail Gun
- 1/2″ Round Over Bit
- Router
- 48″ Shag Rug
- Staple Gun
- Clamps
- Miter Saw
- Drill
- Kreg Jig Pocket Hole System
- Pocket Hole Screws
- (5) 1×3″ Pine Boards
- Canvas Fabric
- 2″ Drywall Screws
- Fox Pillow
FYI: This post contains affiliate links to materials and tools we used to make our Kid’s Reading Nook Tent as well as the pieces we used to decorate it. As an Amazon Associate Gray House Studio earns from qualifying purchases. This is at no extra cost to you. We appreciate you supporting this site. Read our privacy and disclosure policy.
TUTORIAL VIDEO
Subscribe to our YouTube Channel
Like our video? Please subscribe and help us reach our goal of 100k subscribers.
Follow along below to see how we built a kid sized tent out of wood.
STEPS
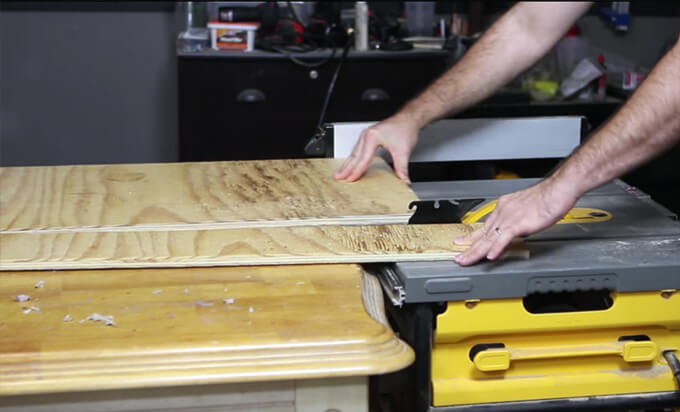
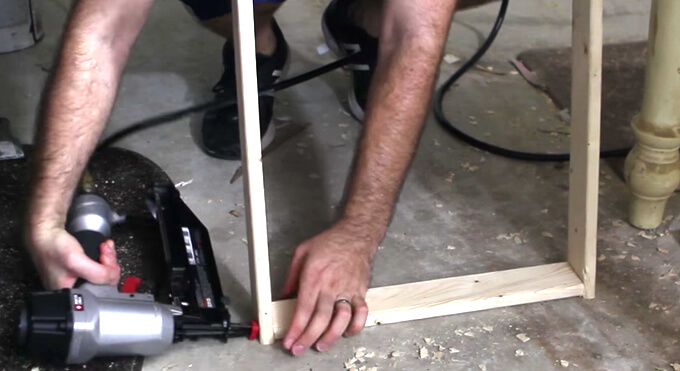
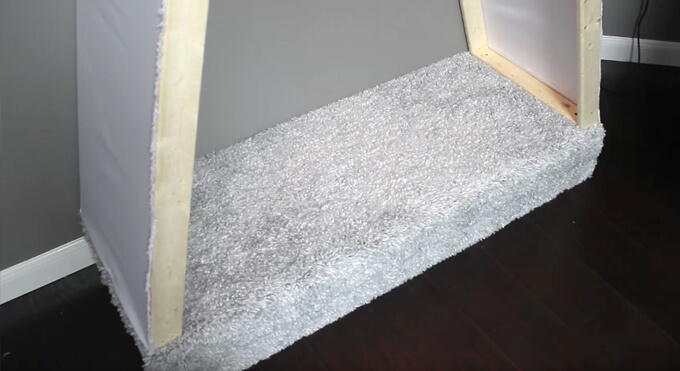
1. Brent started the build by constructing the platform. We used a table saw to cut plywood into 6” tall pieces for the sides and braces.
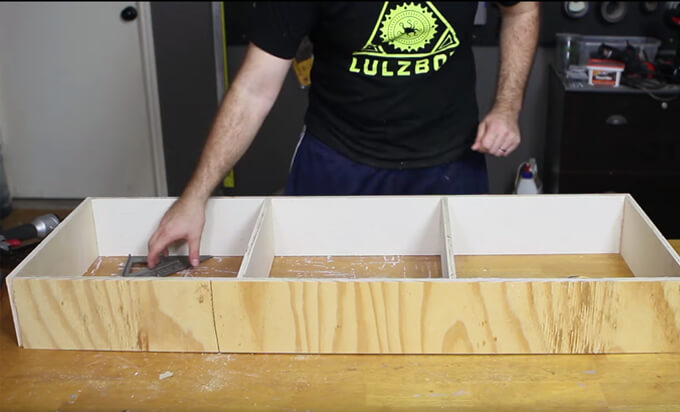
2. He used a square to make sure all the sides were straight before we attached them together.
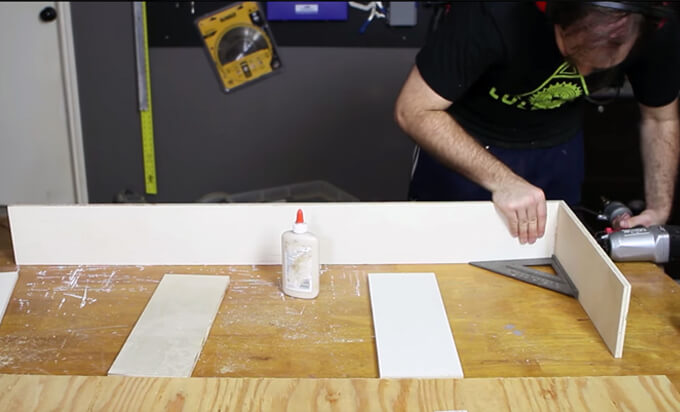
3. These boards were secured together using wood glue and a nail gun with 1 1/2 inch brad nails.
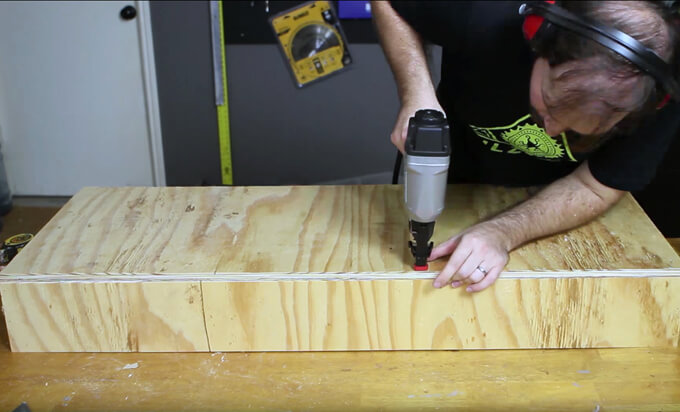
4. Then he attached the top plywood board measuring 48” wide and 30” deep with wood glue and a nail gun with 1 1/2 inch brad nails.
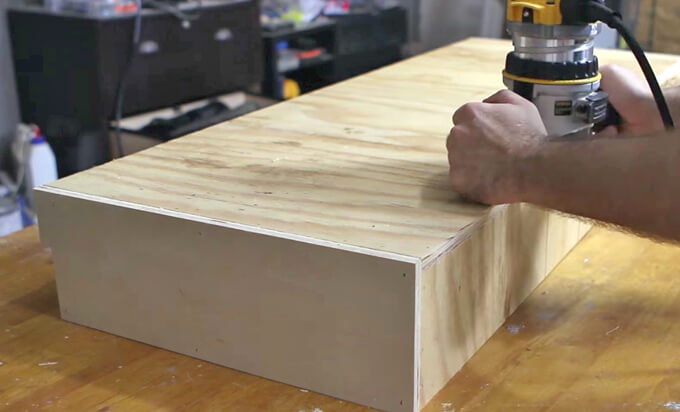
5. Next, he used a 1/2” round over bit on a router to remove the sharp edges from the corner of the platform.
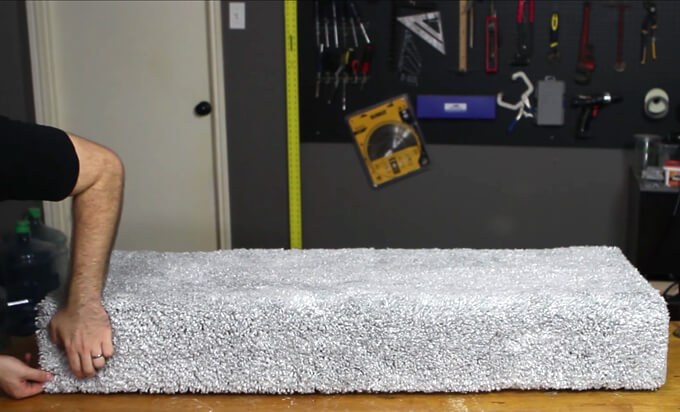
We found a shag rug (here is a similar one) at Target that was 48” wide which made it perfect for this project. We didn’t even have to cut it.
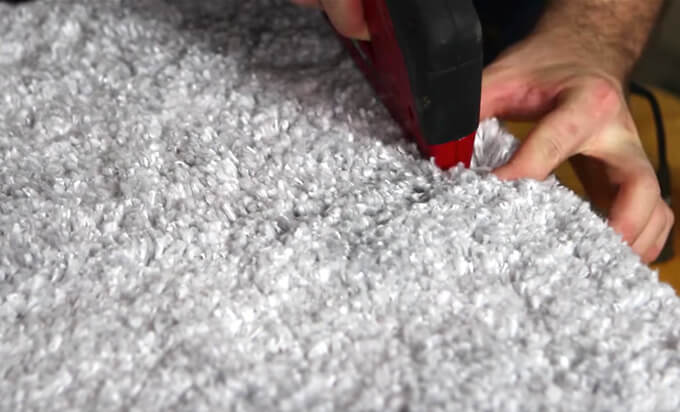
6. To attach the carpet he parted the bristles and stapled in between them with a staple gun.
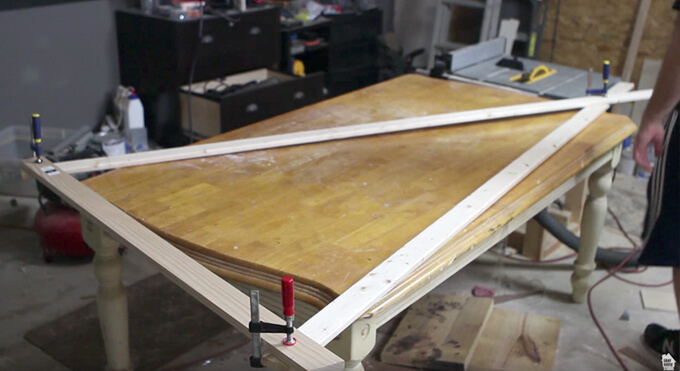
7. To find the correct angles of the frame Brent used clamps to attach a 48” piece to the uprights and marked where to cut the boards.
Be sure to measure both upright boards if one is longer than the other then the peak of the tent will be off center. Both of the uprights should be the exact same length.
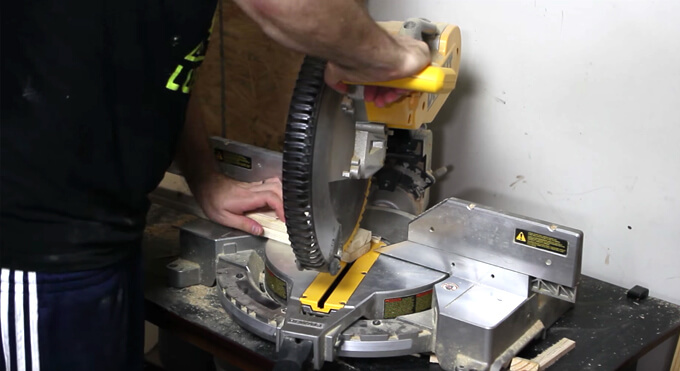
8. He used a miter saw to cut our boards to be 7ft. tall.
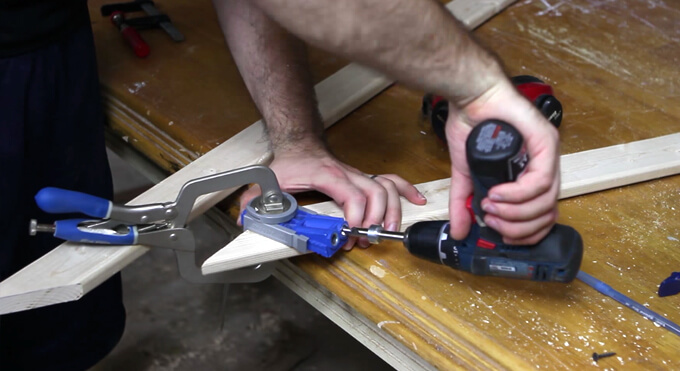
9. To attach the peaks of the frame together Brent used the Kreg Jig Pocket Hole System to make two pocket holes.
10. Then, he drilled in two screws into the pocket holes.
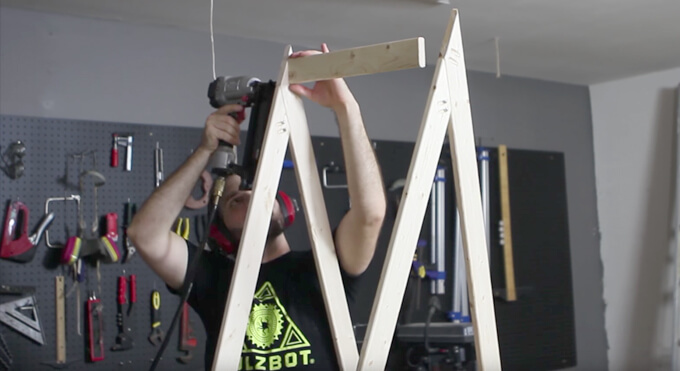
11. After turning both of the frames so the pocket holes faced backwards, he connected them with a 1×3 board using my nail gun.
The frames should be the same depth as the platform. Ours was 20” deep so the top frame measured 20” deep once they were connected with the top board.
12. Brent used the nail gun to attach two additional 1×3 boards at the bottom of each side of the frame.
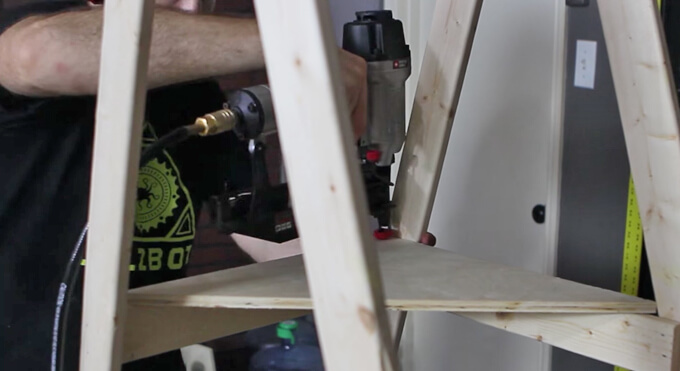
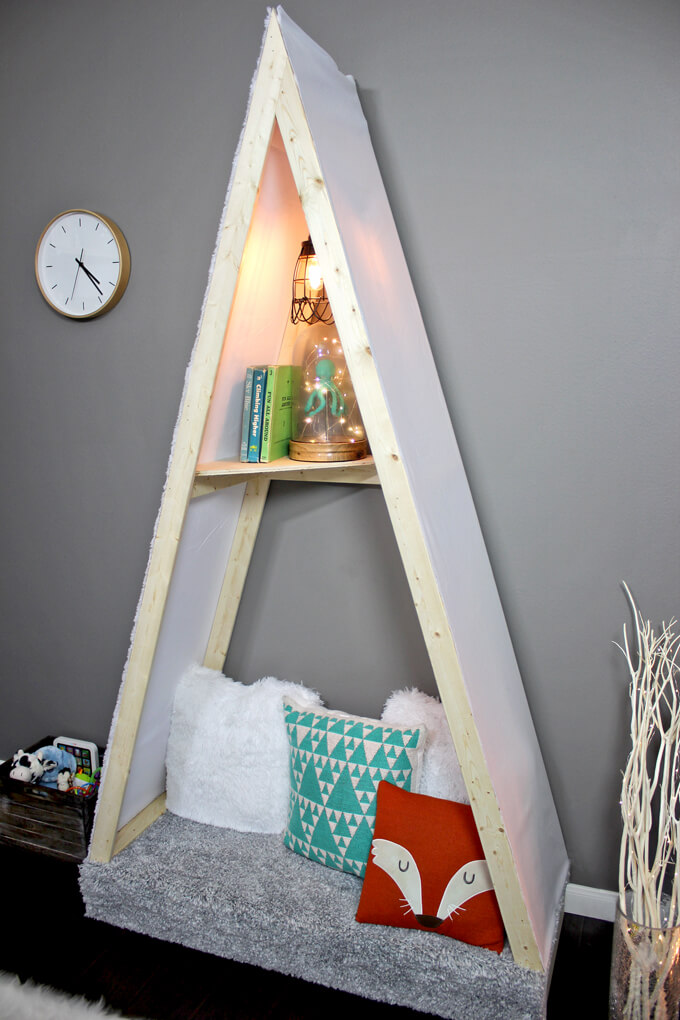
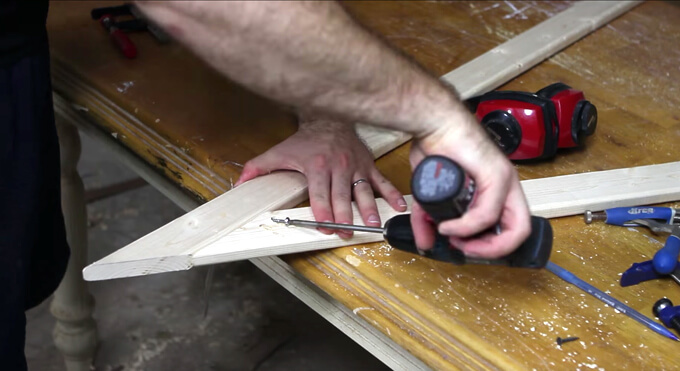
13. To add some interest to the tent we decided to add a triangle shelf midway up.
To build the shelf Brent attached a back brace and a side brace. Then attached a triangle shelf to the top of the braces with a href=”https://amzn.to/2Je7qwY” target=”_blank”>wood glue and a nail gun.
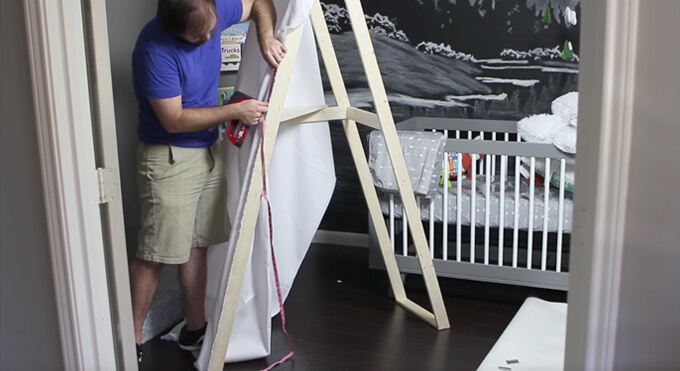
14. After moving the frame into the room, Brent attached the canvas fabric to the sides.
He used the factory edge of the canvas on the front side of the frame and used a staple gun to attach it to the frame in 6” intervals.
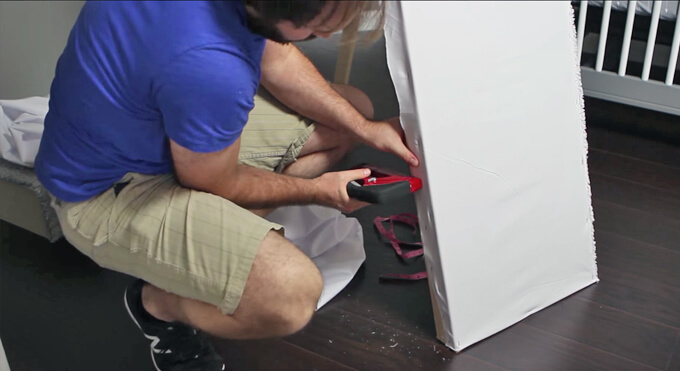
15. Then Brent attached and concealed the not so great looking side on the back.
16. The entire frame was attached to the base using a drill and 2” drywall screws.
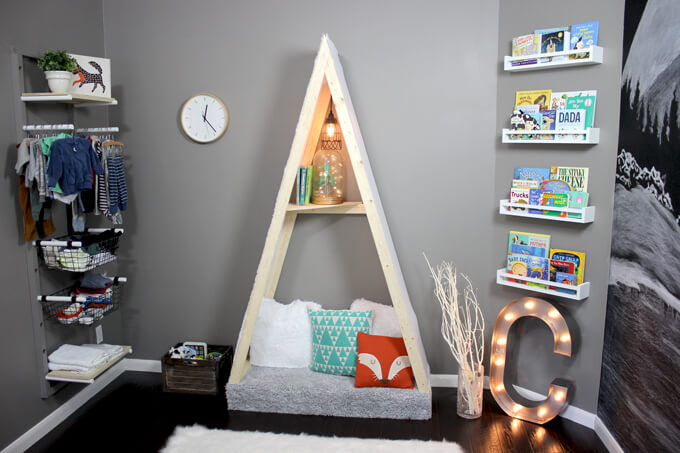
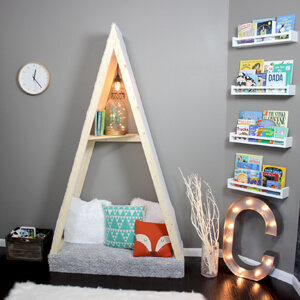
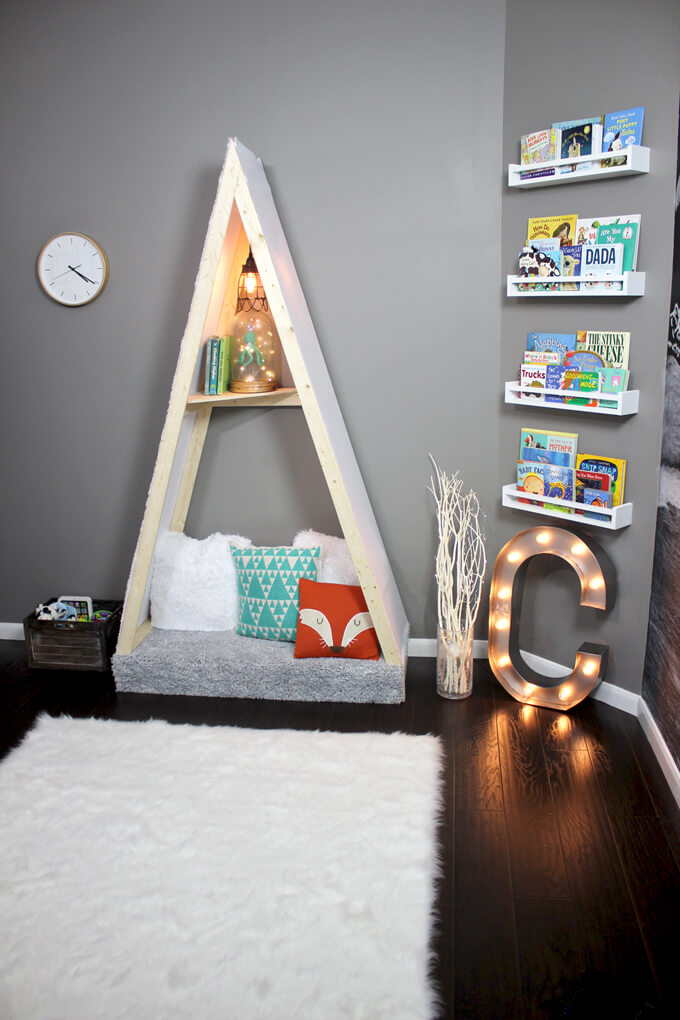
We picked some quirky elements to decorate the kid’s tent.
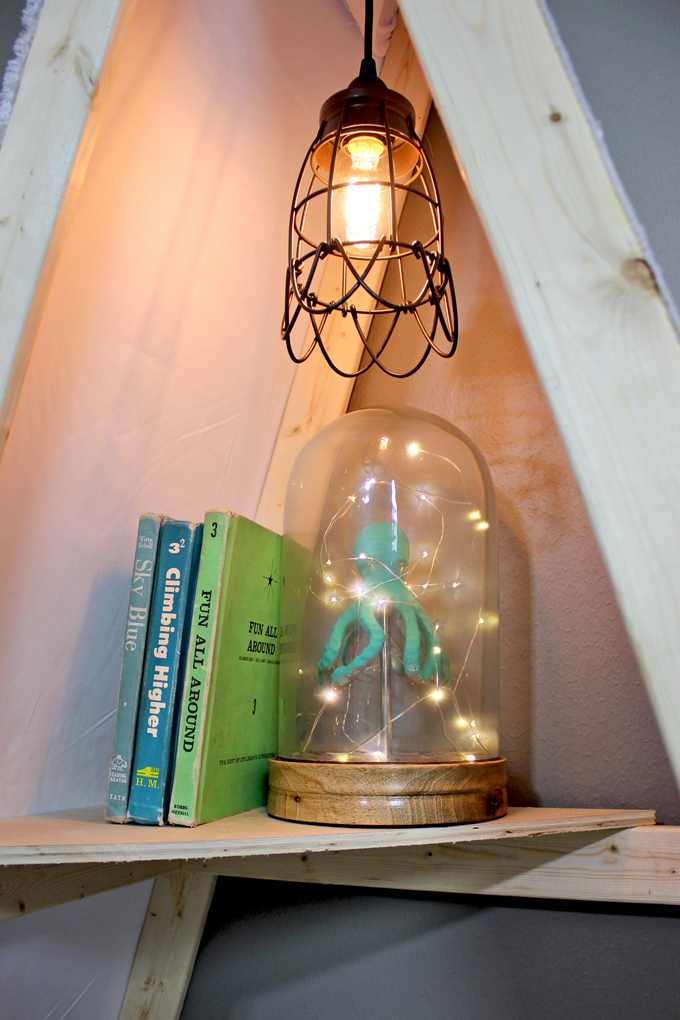
We picked out this octopus sculpture in a glass dome and spray painted it turquoise and added string lights to up the whimsy factor.
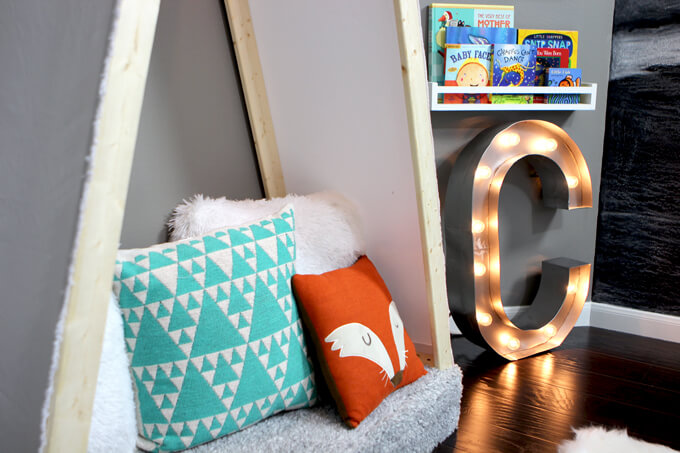
To make it cozy we picked up several pillows to add variety in color and texture to our kid’s reading nook tent. The fox pillow is my favorite.
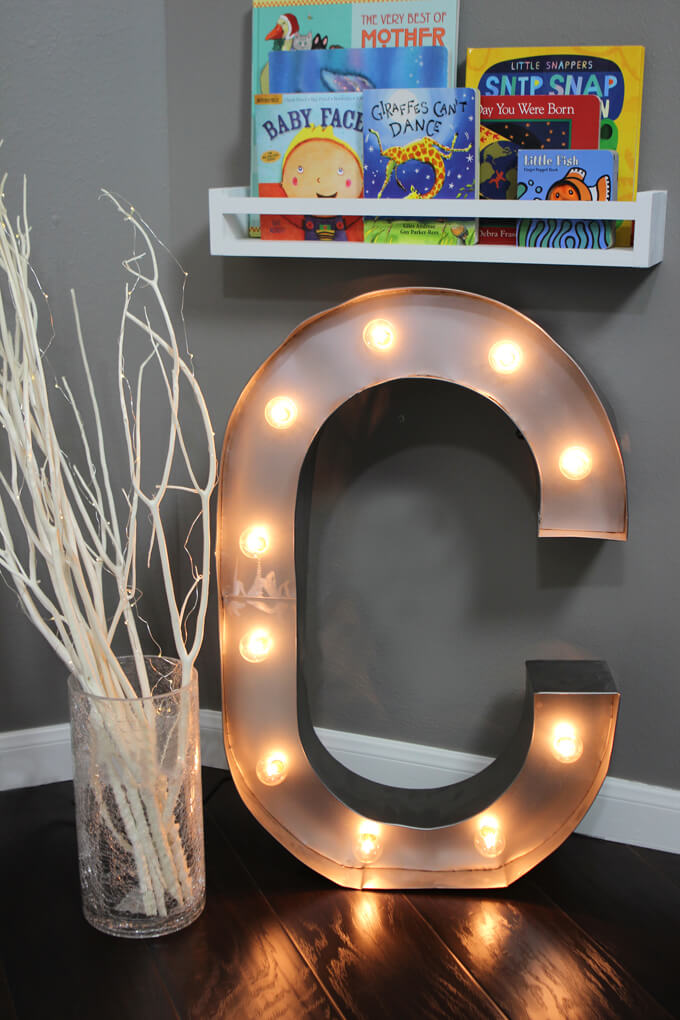
How fun is this marquee letter? This huge “C” is for Connor. We wrapped the white branches with more of the LED string lights to add a little magical touch to the reading nook area.
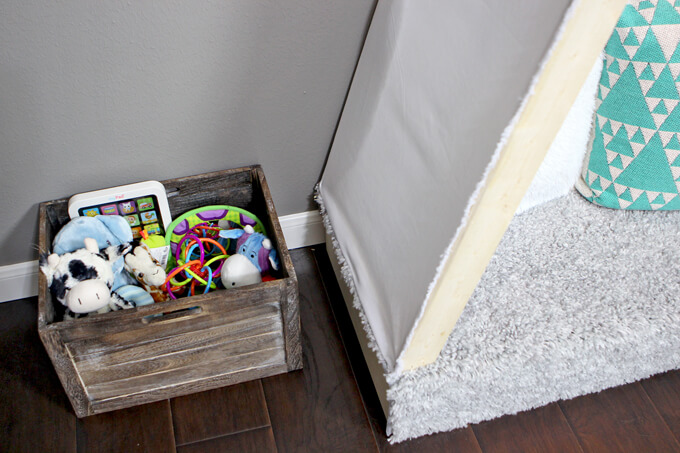
Once Connor is able to start being mobile, we will have to move these items to higher ground, but for now they fill up this space next to the tent nicely and add a playful touch.

While our son might not be able to read for awhile, Brent and I are ourselves are looking forward to sitting in the space, holding him and reading to him.
PIN IT FOR LATER